How to Crochet the Star Stitch: Free Beginner Tutorial
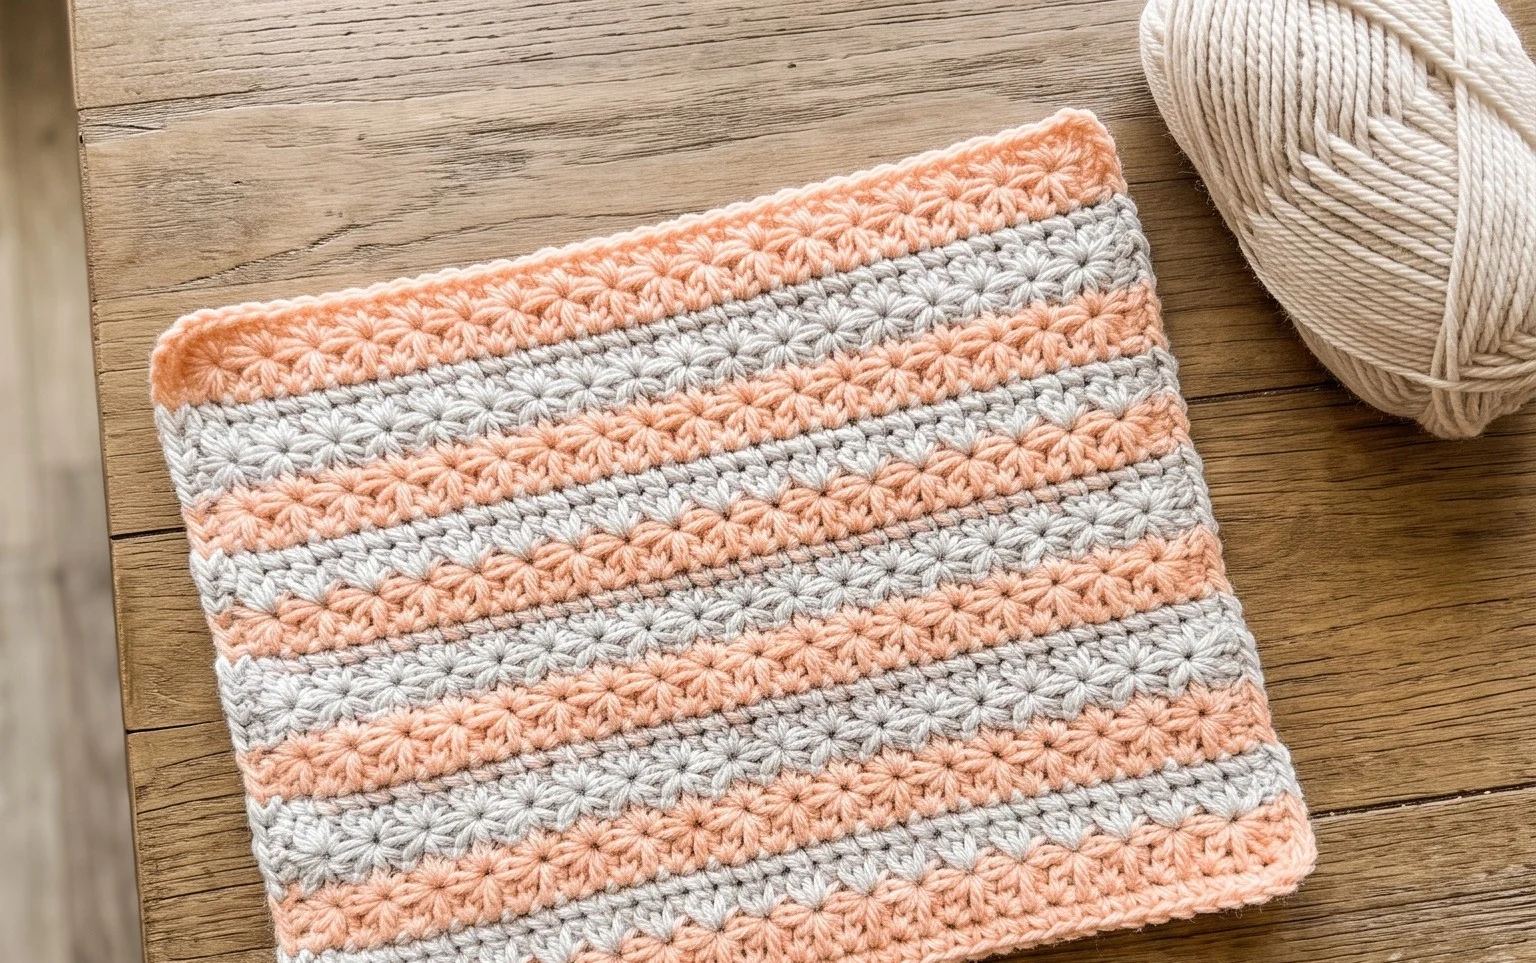
The star stitch creates a dense, beautiful texture that looks like a series of small, interconnected flowers or little blossoms across your fabric. It has a firm feel, which makes it excellent for items that need to hold their shape, such as thick washcloths or winter hats. Learning this technique is deeply rewarding because you build layers of delicate loops that slowly transform into a complex-looking design without needing advanced skills. Whether you want to add a decorative border to a blanket or create a sturdy pouch, this simple method adds a refined quality to your handmade projects. You will learn to work the stitches into existing loops to form the characteristic rays of each shape through this guide.
Why You’ll Love This Pattern
This beginner-friendly crochet coaster pattern uses a simple spiral construction, making it an ideal project for those just learning to work in the round. You only need a small amount of cotton yarn, allowing you to use up leftover scraps from larger projects without needing to purchase new materials. The tight stitch density provides a stable, heat-resistant surface that protects your furniture from beverage condensation. Because the project works up in under twenty minutes, it is perfect for creating handmade gifts in a hurry or building a quick, coordinated set for a housewarming present.
I managed to finish a full set of four coasters in one afternoon while watching a movie. The instructions were very easy to follow, and the final result looks professional and clean.
— Sarah, hobbyist crocheter
Pattern Overview & Skill Level
- Skill Level: Beginner
- Approximate Time: 15–20 minutes per coaster
- Construction: Worked in continuous rounds using the amigurumi style (no joining at the end of rounds)
- Finished Dimensions & Sizing: 4 inches in diameter
Materials & Supplies Needed
- Yarn: Worsted weight (#4) 100% cotton yarn, approximately 15 yards per coaster. Cotton is essential for heat resistance and moisture absorption.
- Hook Size: 5.0 mm (US H-8) crochet hook
- Notions: Tapestry needle for weaving in ends, a stitch marker to keep track of the first stitch of each round, and scissors.
- Safe yarn substitutions: You may use a bamboo-cotton blend for a softer feel, though this may result in a slightly more relaxed fabric. Avoid acrylic yarn, as it can melt when in contact with hot mugs.
Stitch Guide & Abbreviations (US Terms)
- MR: Magic Ring
- ch: Chain
- sc: Single crochet
- inc: Increase (work 2 single crochet stitches into the same stitch)
- st: Stitch
- sl st: Slip stitch
- BLO: Back loop only (insert hook under only the rear strand of the stitch)
Step-by-Step Pattern Instructions
Coaster Body
- Rnd 1: Start with a MR and work 6 sc into the ring. Tighten the ring securely. (6 sts)
- Rnd 2: Work 2 sc in each st around. (12 sts)
- Rnd 3: 1 sc in next st, inc in next st repeat from * to * 6 times. (18 sts)
- Rnd 4: 1 sc in next 2 sts, inc in next st repeat from * to * 6 times. (24 sts)
- Rnd 5: 1 sc in next 3 sts, inc in next st repeat from * to * 6 times. (30 sts)
- Rnd 6: 1 sc in next 4 sts, inc in next st repeat from * to * 6 times. (36 sts)
- Rnd 7: 1 sc in next 5 sts, inc in next st repeat from * to * 6 times. (42 sts)
- Rnd 8: Work 1 sc in BLO of every st around. This creates a slight edge that helps the coaster lay flat and provides a decorative ridge. (42 sts)
Finishing
Once you finish Rnd 8, work 1 sl st into the next stitch to smooth out the transition. Fasten off your yarn, leaving a 6-inch tail. Use your tapestry needle to weave the yarn end back and forth through the stitches on the underside of the coaster. Trim any excess yarn closely to the fabric.
Care & Washing Instructions
- Machine wash your cotton coasters on a gentle cycle in cool water.
- Lay the coasters flat on a towel to air dry, ensuring they are shaped into a perfect circle while damp.
- Do not bleach or iron directly, as extreme heat can damage the cotton fibers over time.
Pro Tips & Common Mistakes to Avoid
Maintain consistent tension throughout your rounds to prevent the coaster from curling or cupping. If your coaster starts to ripple, your tension is likely too loose or you are adding too many stitches. Always use a stitch marker at the beginning of every round to keep track of your count, as it is easy to lose your place in a continuous spiral. Weave your ends in by catching the inner strands of your stitches to keep the back of the coaster tidy and invisible. If you choose to use a larger hook size, note that the coaster will become larger and the fabric more porous, which may require more yarn.
Frequently Asked Questions
Can I use acrylic yarn instead of cotton?
It is not recommended. Acrylic yarn is plastic-based and can melt when placed under a very hot mug. Cotton is heat-resistant and durable for coaster use.
How do I make the coaster larger?
To increase the size, continue the pattern of increasing by 6 stitches every round (e.g., 6 sc, inc) until you reach your desired diameter, then perform the final BLO round.
Is this project suitable for absolute beginners?
Yes, this is an excellent starter project because it uses basic stitches and repetition without complex shaping or color changes.
May I sell the coasters I make from this pattern?
You are welcome to sell finished items created from this pattern. Please provide a link back to this page if you are selling them online.
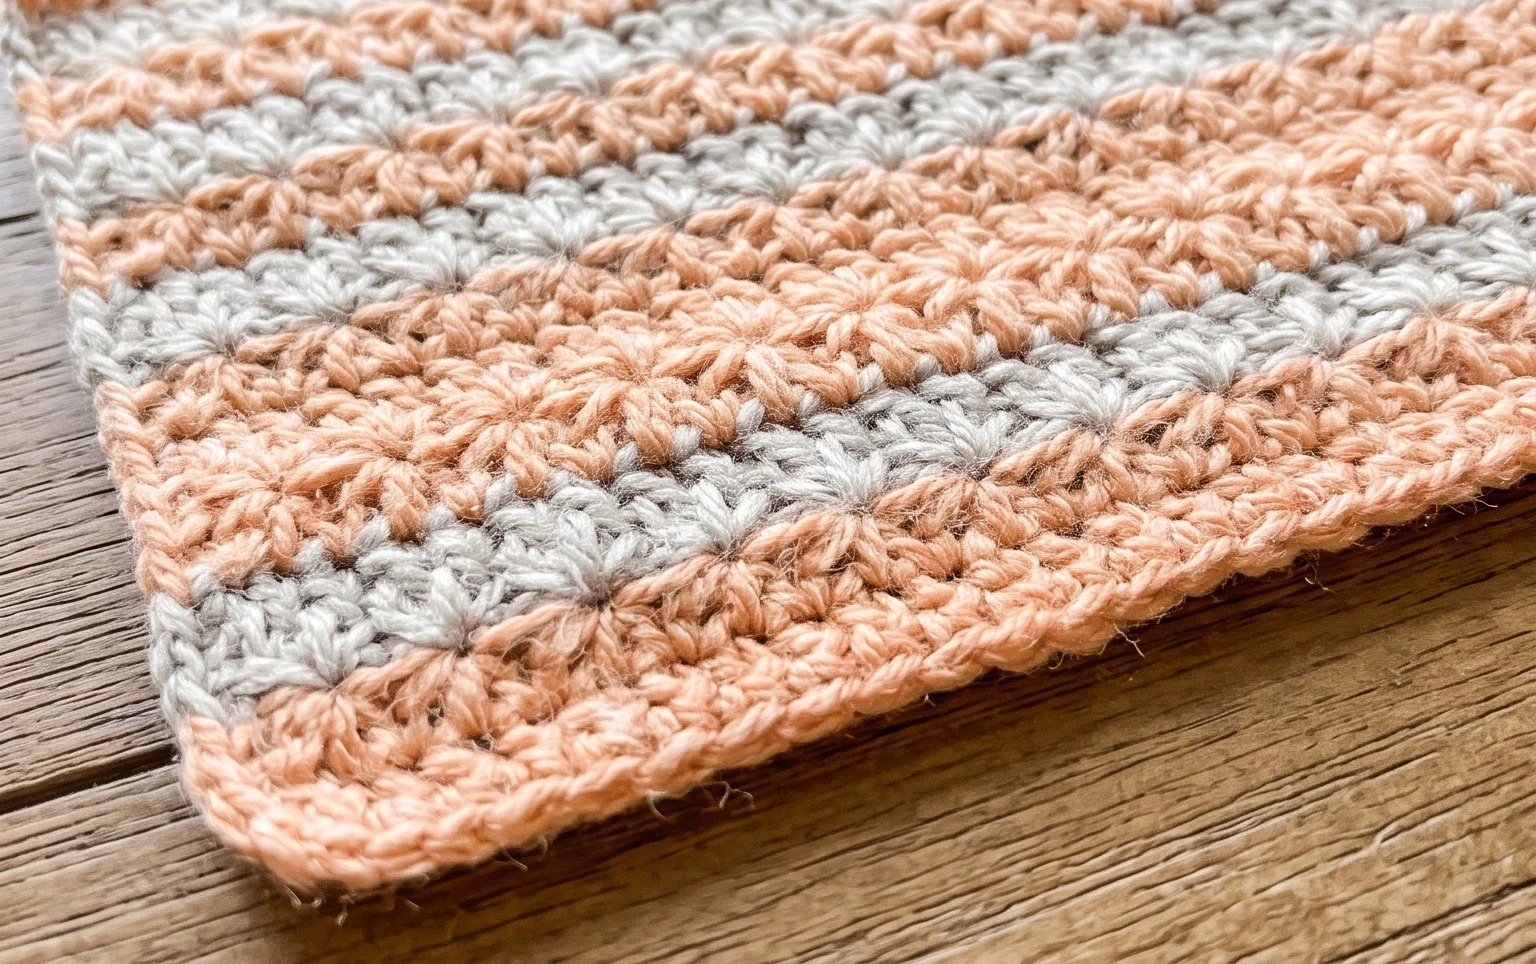
Your finished project now shows off a beautiful, dense texture that highlights your yarn choice and tension control. You might consider using a variegated yarn to make the individual shapes stand out, or perhaps work the pattern in a chunky wool to create a thick potholder for your kitchen. Sharing a photo of your work helps other makers see how the stitch looks in different colors and materials. Feel free to browse the rest of the blog for more free patterns to practice your new skill. We always enjoy seeing your unique versions of these projects on social media platforms.