Easy Crochet Platypus Pattern: Step-by-Step Beginner Guide
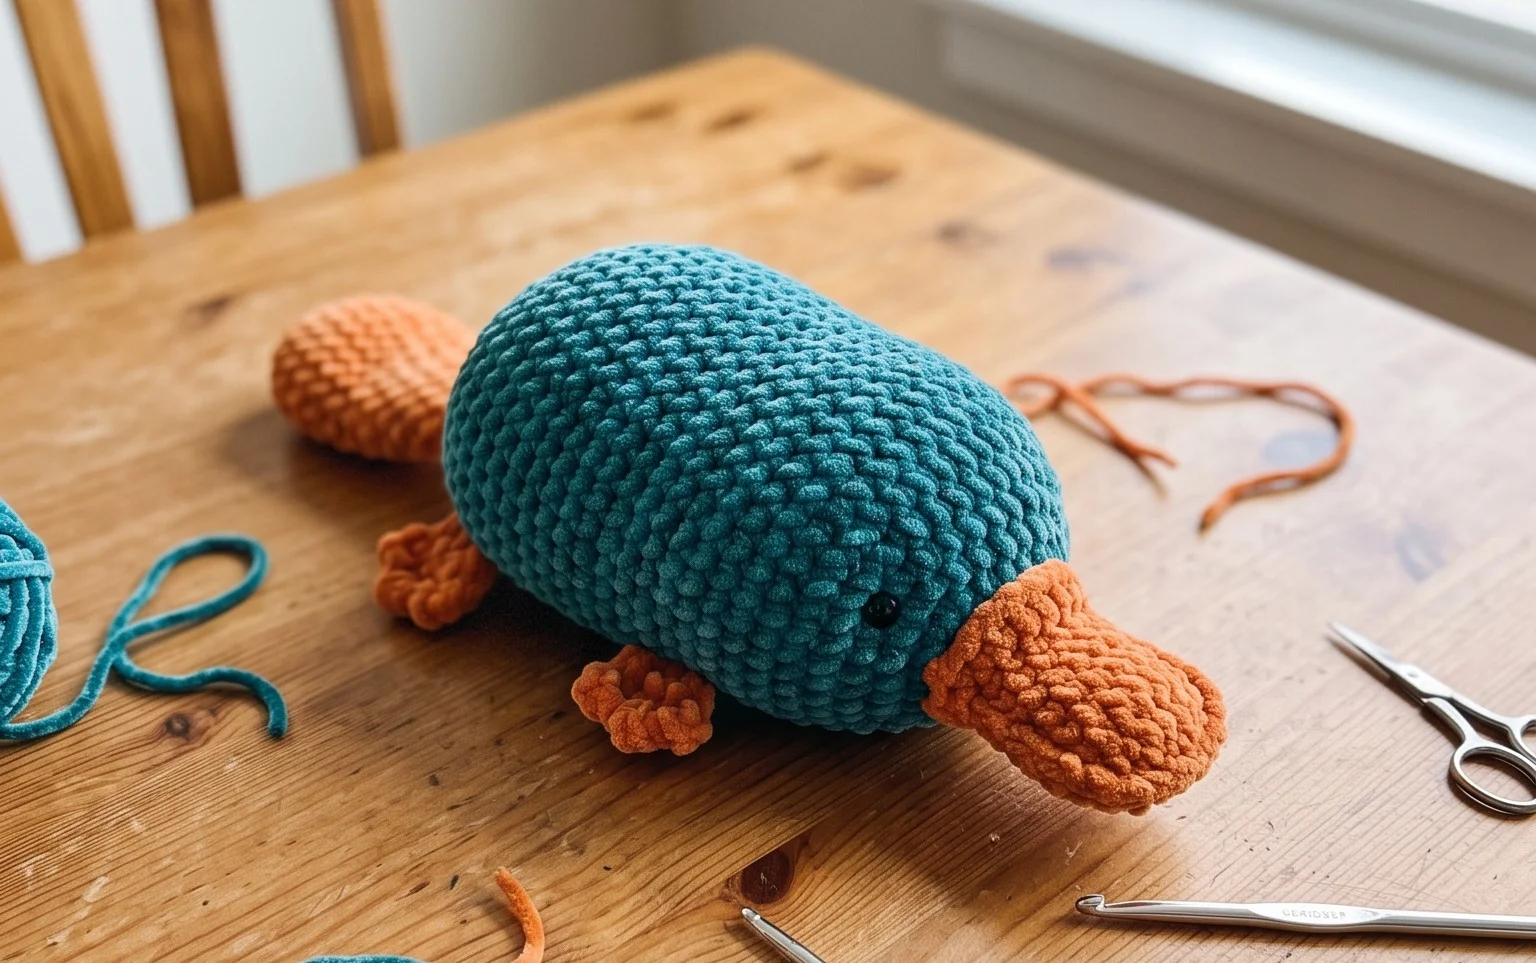
There is something undeniably magical about bringing a quirky, bill-nosed creature to life with just a hook and some soft yarn. This whimsical companion feels squishy, huggable, and perfectly sized for tiny hands or cozy shelf displays, making it an ideal handmade gift for anyone who appreciates a touch of unique charm. You will find this pattern incredibly rewarding, as it transforms simple loops into an adorable aquatic friend. We will focus on mastering the seamless invisible increase, a essential technique that gives your creation a professional, polished finish while keeping the stitching process relaxing and genuinely fun.
Why Crocheters Love It
This project is a perennial favorite for both novice and seasoned makers because it balances aesthetic appeal with technical simplicity. It is an exceptionally quick project, making it the perfect “instant gratification” make for weekend crafting. Because it requires minimal yardage, it is incredibly scrap-yarn friendly, allowing you to clear out your stash while creating a high-quality finished piece. Furthermore, the repetitive, rhythmic nature of the stitches makes it a highly meditative and relaxing project, ideal for stitching while listening to a podcast or watching your favorite show.
I was looking for a pattern that wouldn’t take me weeks to finish, and this was exactly what I needed. It worked up beautifully in a single afternoon and the instructions were so easy to follow, even for someone who usually gets lost in round counts.
— Sarah, dedicated hobbyist
Pattern Overview & Skill Level
- Skill Level: Beginner
- Approximate Time: 1–2 hours
- Construction: Amigurumi-style continuous rounds, working from the base up to the top, finished with a seamless closing.
- Finished Dimensions & Sizing: Approximately 4 inches tall by 3 inches wide.
Materials & Supplies Needed
- Yarn: Worsted weight (#4) cotton or acrylic blend; approximately 40–50 yards.
- Hook Size: 4.0 mm (US G-6).
- Notions: Tapestry needle, locking stitch marker, fiberfill stuffing, and scissors.
- Yarn Substitutions: You may use DK weight (#3) for a smaller, more delicate version (requires adjusting hook to 3.25mm) or Bulky weight (#5) for a larger plushie (use a 5.5mm hook). Always maintain a tight tension to ensure the stuffing does not show through.
Stitch Guide & Abbreviations (US Terms)
- MR: Magic Ring
- ch: Chain
- sc: Single crochet
- inc: Increase (2 sc in the same stitch)
- dec: Decrease (invisible decrease recommended: insert hook through front loops of next two stitches, yarn over, pull through two loops, yarn over, pull through remaining two loops)
- sl st: Slip stitch
- st(s): Stitch(es)
- FO: Fasten off
Step-by-Step Pattern Instructions
Main Body
- Rnd 1: Work 6 sc into a MR. (6 sts)
- Rnd 2: Inc in each st around. (12 sts)
- Rnd 3: Sc, inc repeat 6 times. (18 sts)
- Rnd 4: Sc 2, inc repeat 6 times. (24 sts)
- Rnd 5-10: Sc in each st around. (24 sts)
- Rnd 11: Sc 2, dec repeat 6 times. (18 sts)
Begin stuffing the body firmly with fiberfill. Ensure the base is flat and the sides are even.
- Rnd 12: Sc, dec repeat 6 times. (12 sts)
- Rnd 13: Dec 6 times. (6 sts)
Finishing
FO, leaving a 6-inch tail. Thread the tail onto your tapestry needle and weave it through the front loops of the remaining 6 stitches. Pull tight to close the opening securely. Knot and bury the yarn end inside the body of the project.
Care & Washing Instructions
- Hand wash in cool water using a gentle detergent; do not wring or twist.
- Lay flat on a clean towel to air dry, reshaping while damp to ensure the item retains its form.
- Avoid using bleach or high-heat drying, as this can damage synthetic fibers and cause the stuffing to clump.
Pro Tips & Common Mistakes to Avoid
- Maintain Consistent Tension: When working amigurumi, a tight tension is vital to prevent the stuffing from poking out between stitches. If your gaps look too wide, consider going down a half-size in hook.
- Use a Stitch Marker: Always place a stitch marker in the first stitch of every round. Because this project is worked in continuous rounds, it is very easy to lose your place without one.
- Weaving Ends Invisibly: When finished, pull your yarn tail inside the piece and weave it through the interior fibers several times before trimming. This keeps your exterior looking clean and professional.
- Adjusting Size: To make this item larger, you can continue increasing in multiples of 6 (e.g., sc 3, inc) before moving to the straight rounds. Keep in mind that increasing size will require significantly more yarn and fiberfill.
Frequently Asked Questions
Can I substitute the yarn with wool?
Yes, wool is a great choice for a warmer, more natural look. Be aware that wool can grow slightly when wet, so you may want to hand wash and block it carefully to keep its shape.
Is this pattern suitable for complete beginners?
Absolutely! If you know how to make a magic ring, single crochet, and decrease, you have all the skills necessary to complete this project successfully.
Can I sell the items I make from this pattern?
Please check the original designer’s specific terms of service. Most independent designers allow for small-batch sales, but it is respectful to credit the pattern creator in your listing or social media post.
What if my stitch count is off by one?
If you find you are off by one stitch at the end of a round, check your previous round for a missed increase or accidental extra stitch. In small items like this, keeping the exact count is essential for the structure to close correctly at the top.
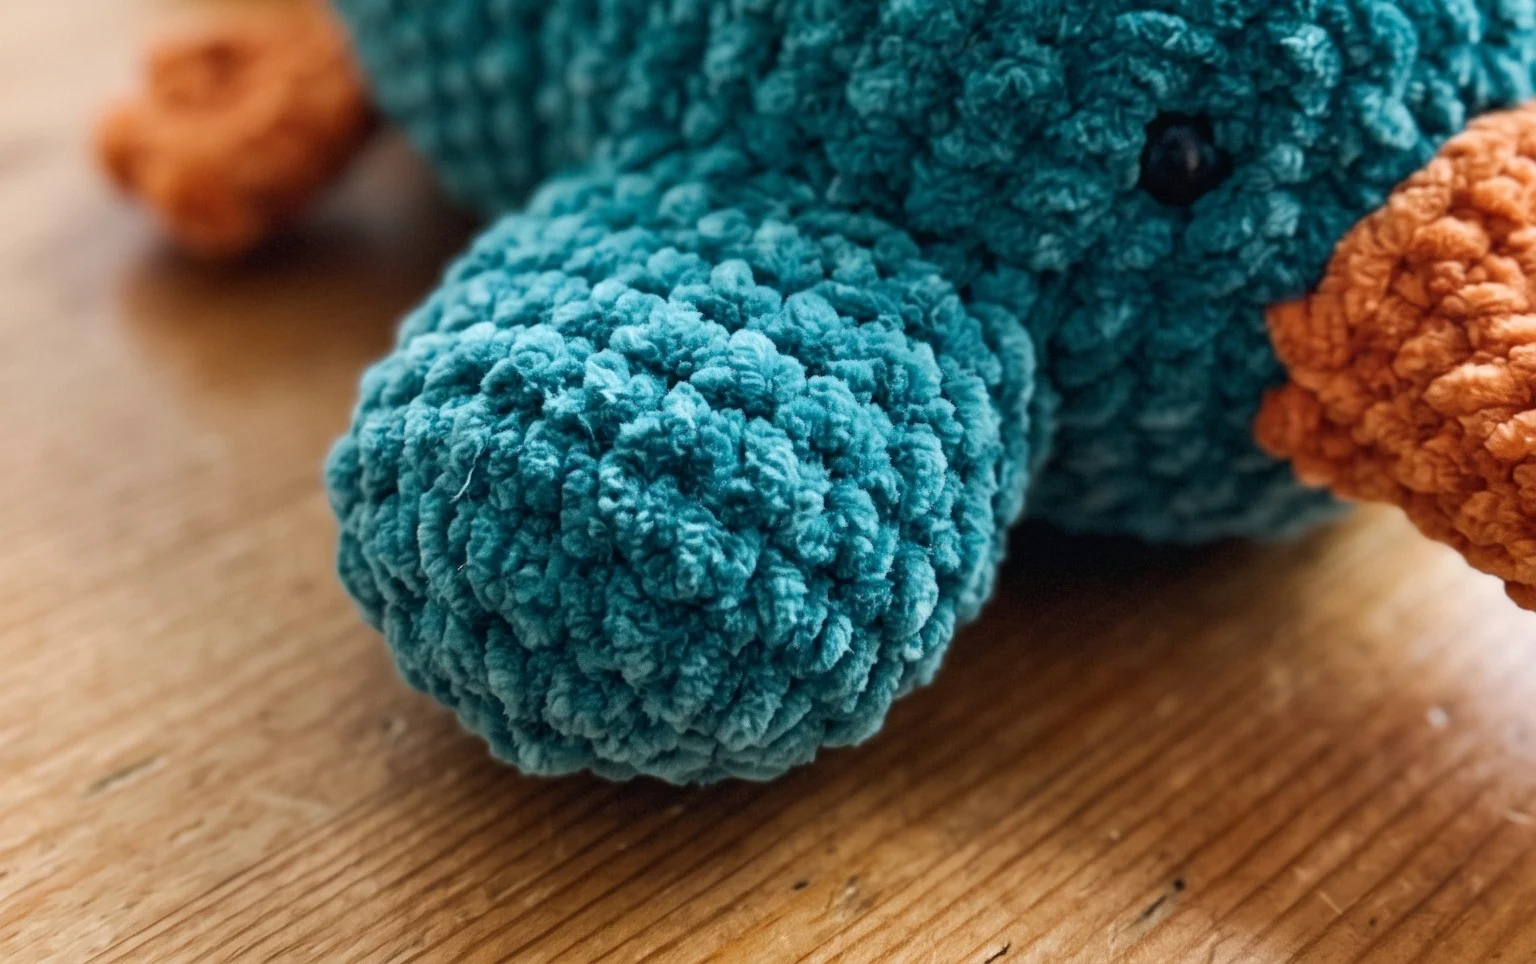
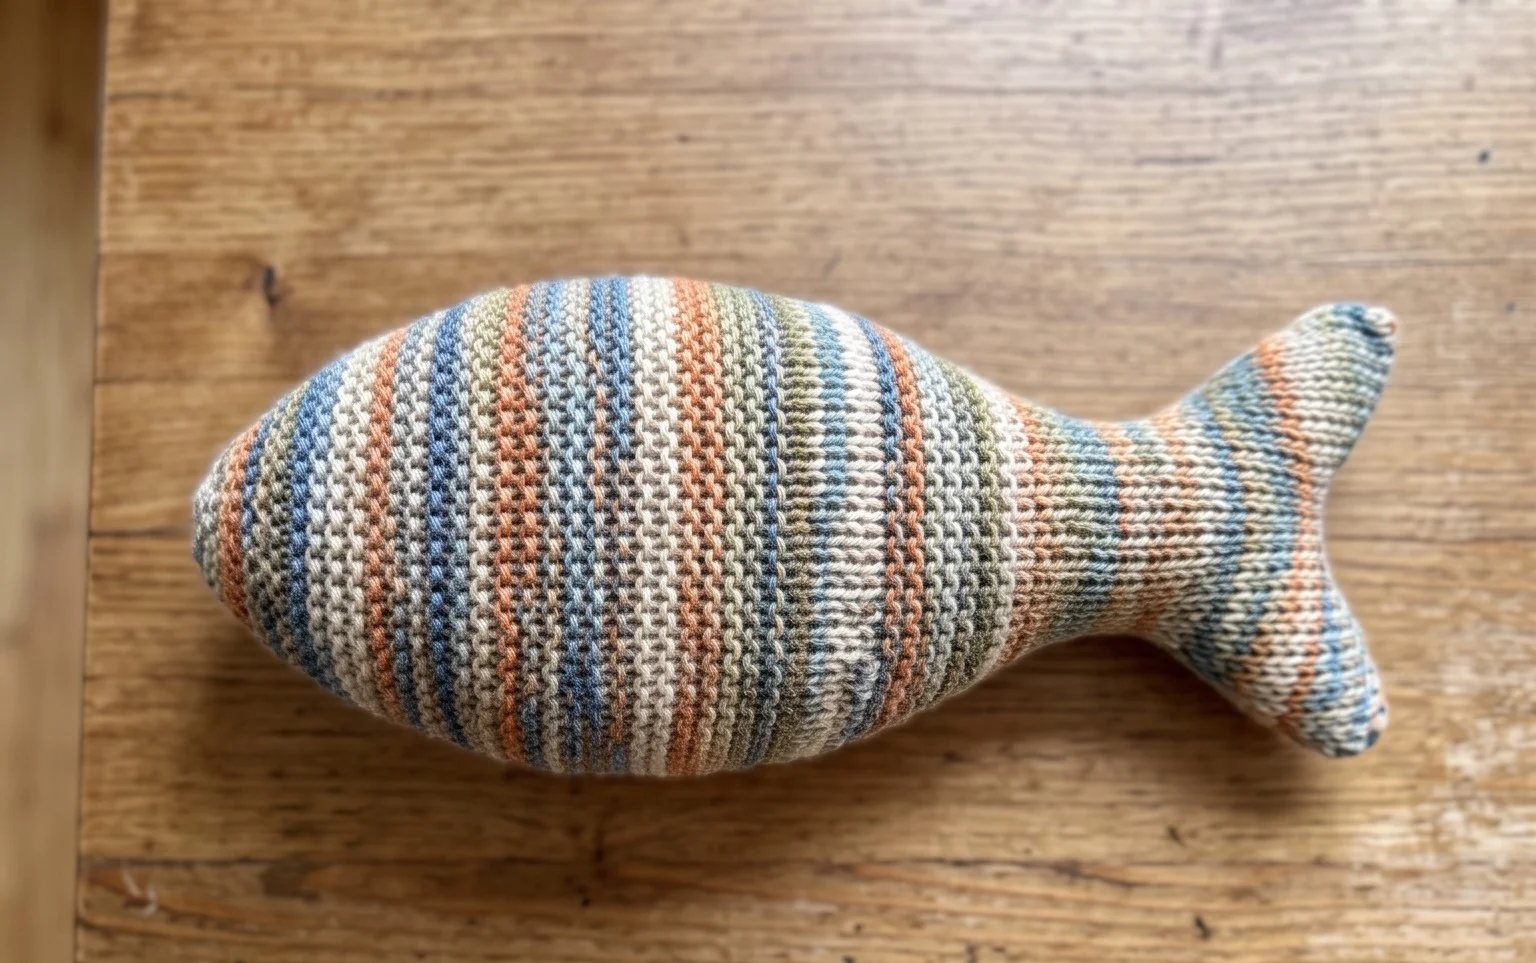
You have just created the most adorable little companion, and your new stuffed friend is sure to bring a smile to anyone who sees it. Why not try stitching a few in variegated yarn for a whimsical, speckled look? I would absolutely love to see your finished work, so please share your photos on Pinterest or Instagram using my tag. Once you have finished your cute creature, feel free to browse the rest of my blog for more cozy and free patterns.