Easy Crochet Headband: Free Beginner Pattern for Gifts
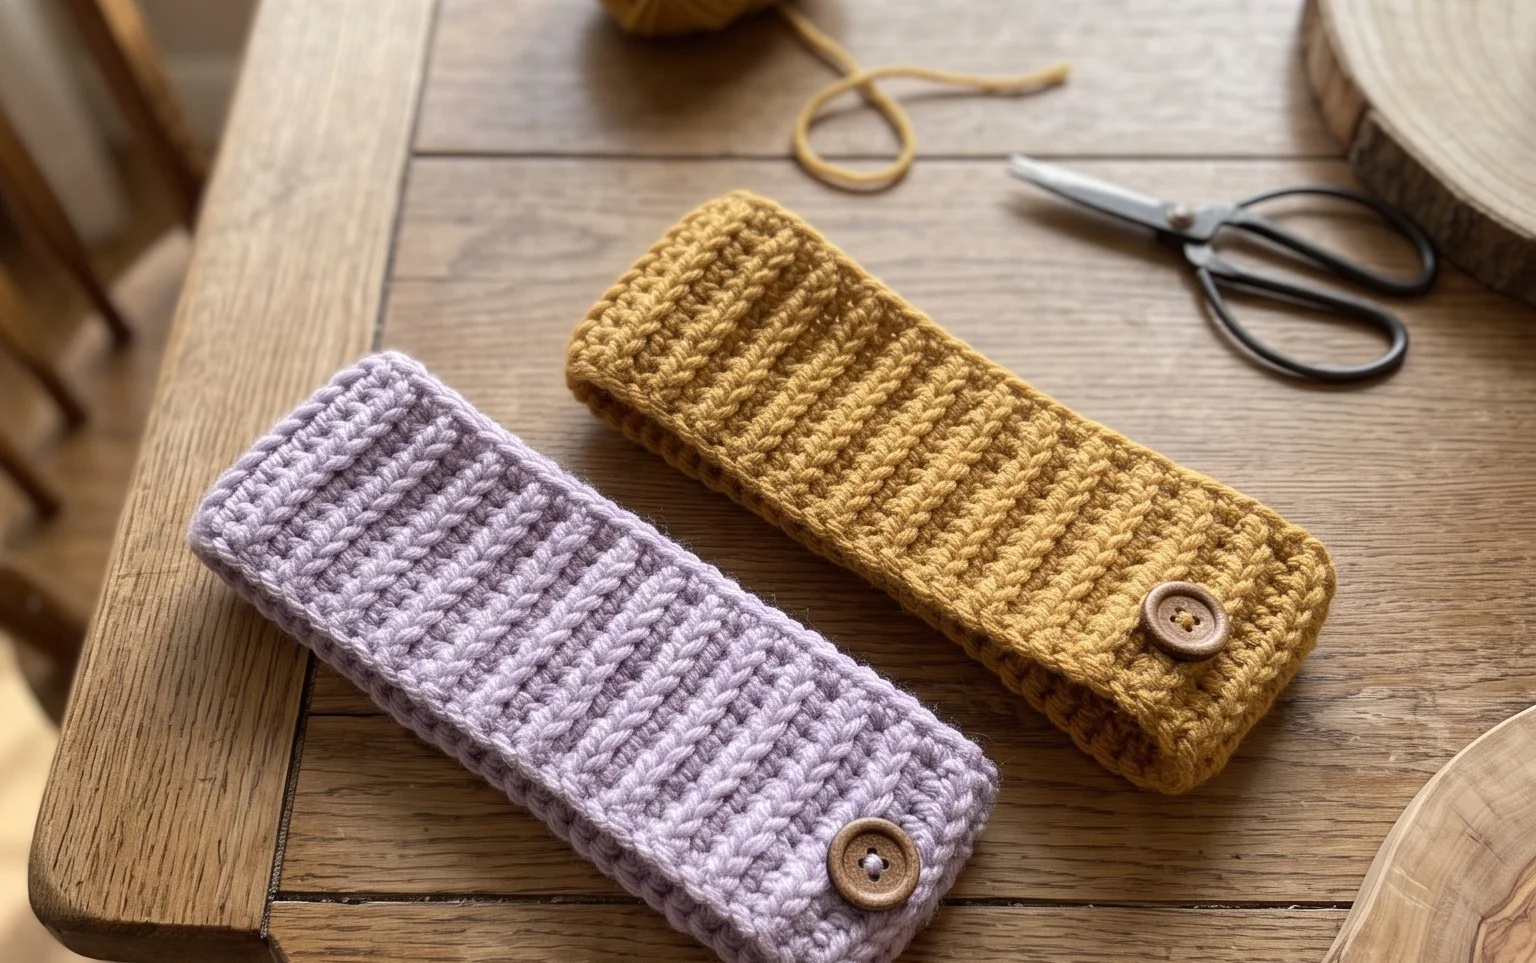
Soft wool against your ears brings instant comfort on a gray morning, and this ribbed accessory provides exactly that cozy warmth. You will work this design using a simple half double crochet stitch in the back loop, creating a sturdy texture that holds its shape through many winters. Because this piece uses minimal yarn and follows a straightforward rectangular construction, it serves as a reliable project for those times when you need a thoughtful handmade gift by tomorrow. You will learn how to maintain consistent edges and achieve a polished, store-bought finish without any complicated shaping or counting.
Why You’ll Love This Pattern
This crochet ribbed beanie pattern utilizes a simple back-loop-only technique that creates a professional, store-bought look with significant stretch. It is a one-skein project that works up quickly using basic stitches, making it an ideal choice for last-minute gifts or stocking your craft fair inventory. Because it is worked as a flat rectangle and seamed at the end, it removes the complexity of crown decreases and complex counting. The resulting fabric is dense and warm, perfect for keeping ears shielded from biting winter winds.
I managed to finish this hat in one evening while watching a movie. The texture is lovely and it fits perfectly without being too tight around the forehead.
— Sarah, hobbyist crocheter
Pattern Overview & Skill Level
- Skill Level: Beginner
- Approximate Time: 2 to 3 hours
- Construction: Worked flat in rows to create a rectangle, then seamed to form a tube and cinched at the crown.
- Finished Dimensions: 9 inches wide (flat) by 10 inches tall, fits an average adult head size of 21–23 inches.
Materials & Supplies Needed
- Yarn: Worsted weight (#4), 100% acrylic or wool blend, approximately 200 yards.
- Hook Size: 5.5 mm (US I-9).
- Notions: Tapestry needle for seaming and weaving ends, locking stitch markers, measuring tape, and optional pom-pom maker.
- Safe yarn substitutions: You may use a bulky #5 yarn for a thicker, warmer hat, but you will need to reduce the starting chain count by 5–7 stitches to maintain the same dimensions.
Stitch Guide & Abbreviations (US Terms)
- ch: chain
- st: stitch
- sl st: slip stitch
- BLO: back loop only. Insert the hook only under the back loop of the stitch from the previous row instead of both loops.
- sc: single crochet.
Step-by-Step Pattern Instructions
Main Hat Body
- Row 1: Ch 36. Starting in the second ch from the hook, sc in each ch across. Turn. (35 sts)
- Row 2: Ch 1, sc in BLO of the first st and each st across. Turn. (35 sts)
- Row 3–60: Repeat Row 2 until the piece measures approximately 18 inches unstretched. Ensure you end on an even-numbered row so the yarn tail for seaming is at the bottom edge.
Assembly and Finishing
- Fold the rectangle in half by bringing the short ends together, ensuring the ribs align.
- Using your tapestry needle and a 12-inch tail of yarn, seam the two edges together using a mattress stitch or simple whip stitch through the BLO of the starting chain and the final row.
- Once seamed, turn the piece inside out so the seam is on the inside.
- With a fresh piece of yarn, weave your needle through the edge of one side of the tube, going in and out every few stitches.
- Pull the yarn tight to cinch the top of the hat closed. Secure the knot firmly and weave in all loose ends.
Care & Washing Instructions
- Machine wash the hat in a mesh laundry bag on a gentle cycle using cool water.
- Lay the hat flat on a dry towel to air dry, reshaping it slightly to ensure the ribs remain straight.
- Avoid using high heat in a dryer, as this can shrink synthetic fibers and compromise the stretch of the ribbing.
Pro Tips & Common Mistakes to Avoid
Maintain consistent tension throughout your rows, especially when working in the back loops, to ensure the ribbing looks uniform. Always use a stitch marker on the first stitch of every row to ensure you do not accidentally drop stitches at the edges, which is the most common reason for uneven, trapezoid-shaped rectangles. When weaving in your ends, run the tapestry needle through the thickest part of the ribbing rather than the flat surface to keep the finish invisible. If you decide to adjust the size, add or subtract stitches in increments of two to maintain the integrity of the border edges.
Frequently Asked Questions
Can I use a larger hook size for a softer fabric?
Yes, increasing to a 6.0 mm hook will result in a drapier fabric. However, be aware that this will make the hat larger and may require using slightly less yarn to compensate for the increased gauge.
Is this pattern suitable for complete beginners?
Absolutely. Because the pattern relies entirely on single crochet and the back-loop-only technique, it is an excellent way for new crafters to practice consistent tension and counting.
Can I sell finished items made from this pattern?
You are welcome to sell items made from this pattern as long as you provide credit to the designer in your shop listing. Do not copy or redistribute the written instructions themselves.
What if my hat turns out too short?
If the hat does not provide enough coverage, you can easily add more rows to the rectangle. Simply continue the row-by-row instructions until the piece reaches your desired circumference before seaming.
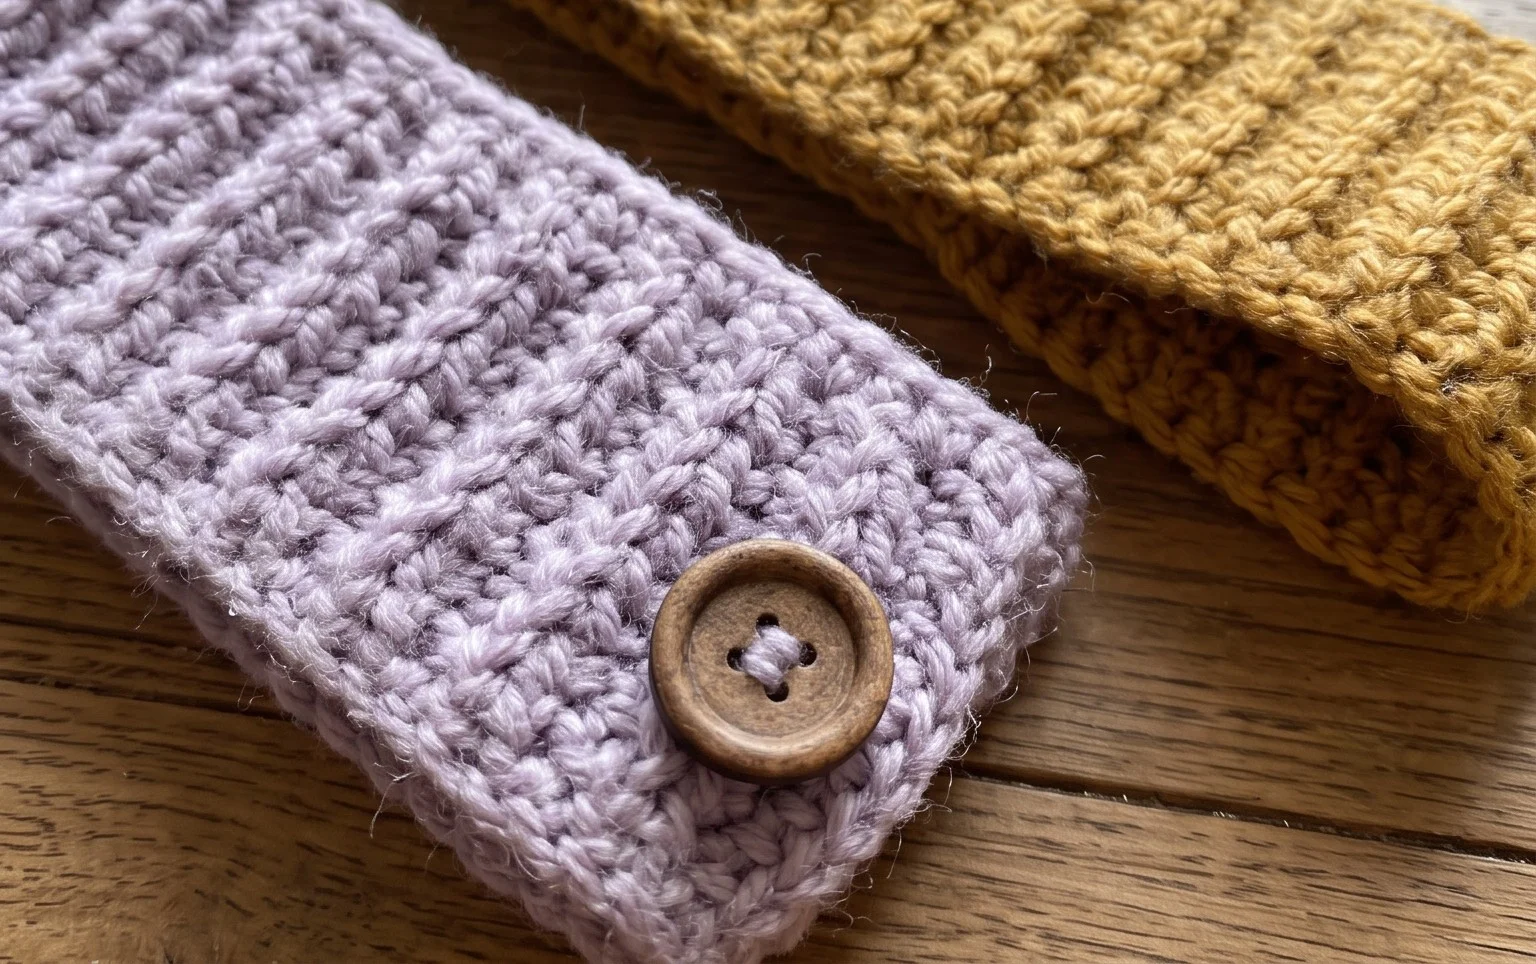
Your finished ear warmer provides a snug fit that keeps out the cold while looking clean and classic. You might consider using a variegated yarn for a playful pop of color or adding a velvet ribbon detail to the seam for extra personality. Please share a photo of your creation with us on your favorite social media platform so we can celebrate your hard work. You can find more free patterns like this one by browsing the archives on our home page.