Easy Ribbed Crochet Beanie Pattern: Step-by-Step Guide
Soft wool against your forehead makes the cold morning air feel much more manageable. This ribbed beanie stays snug throughout the day, providing a warm and steady barrier against the wind. It relies on a back-loop-only technique that creates a distinct, squishy texture resembling store-bought knitwear. Beginners appreciate how quickly the rows build up, while experienced crafters enjoy the meditative rhythm of the stitch. You will find that working this flat rectangle transforms into a professional accessory with only a few simple seams. Getting your materials organized now ensures a smooth, relaxing session that lasts just a few hours.
Why You’ll Love This Pattern
This crochet ribbed beanie pattern utilizes a simple back-loop-only technique that creates a professional, store-bought look with minimal effort. You work the piece as a flat rectangle and seam it together, making it an excellent choice for those who prefer working in rows rather than rounds. Because the texture is highly stretchy, the hat fits a wide range of head sizes comfortably. It is a quick project that works up in a single evening, perfect for last-minute gifts or using up leftover worsted weight yarn from your stash.
I finished this hat in just a few hours during a movie. The texture is so soft and the fit is much better than the ones I have bought in stores.
— Sarah, hobbyist crocheter
Pattern Overview & Skill Level
- Skill Level: Beginner
- Approximate Time: 3 to 4 hours
- Construction: Worked in rows to create a rectangle, then seamed to form a tube and cinched at the top.
- Finished Dimensions & Sizing: Adult medium, approximately 18 inches in circumference (unstretched) and 9 inches in height.
Materials & Supplies Needed
- Yarn: Worsted #4 weight, wool or acrylic blend, approximately 200 yards.
- Hook Size: 5.0 mm (US H-8).
- Notions: Yarn needle, stitch markers, and scissors.
- Safe yarn substitutions: You can use a DK weight yarn held double, which will add thickness and require more yardage, or a bulky #5 yarn with a 6.0 mm hook for a faster, chunkier result.
Stitch Guide & Abbreviations (US Terms)
- ch = chain
- st/sts = stitch/stitches
- sl st = slip stitch
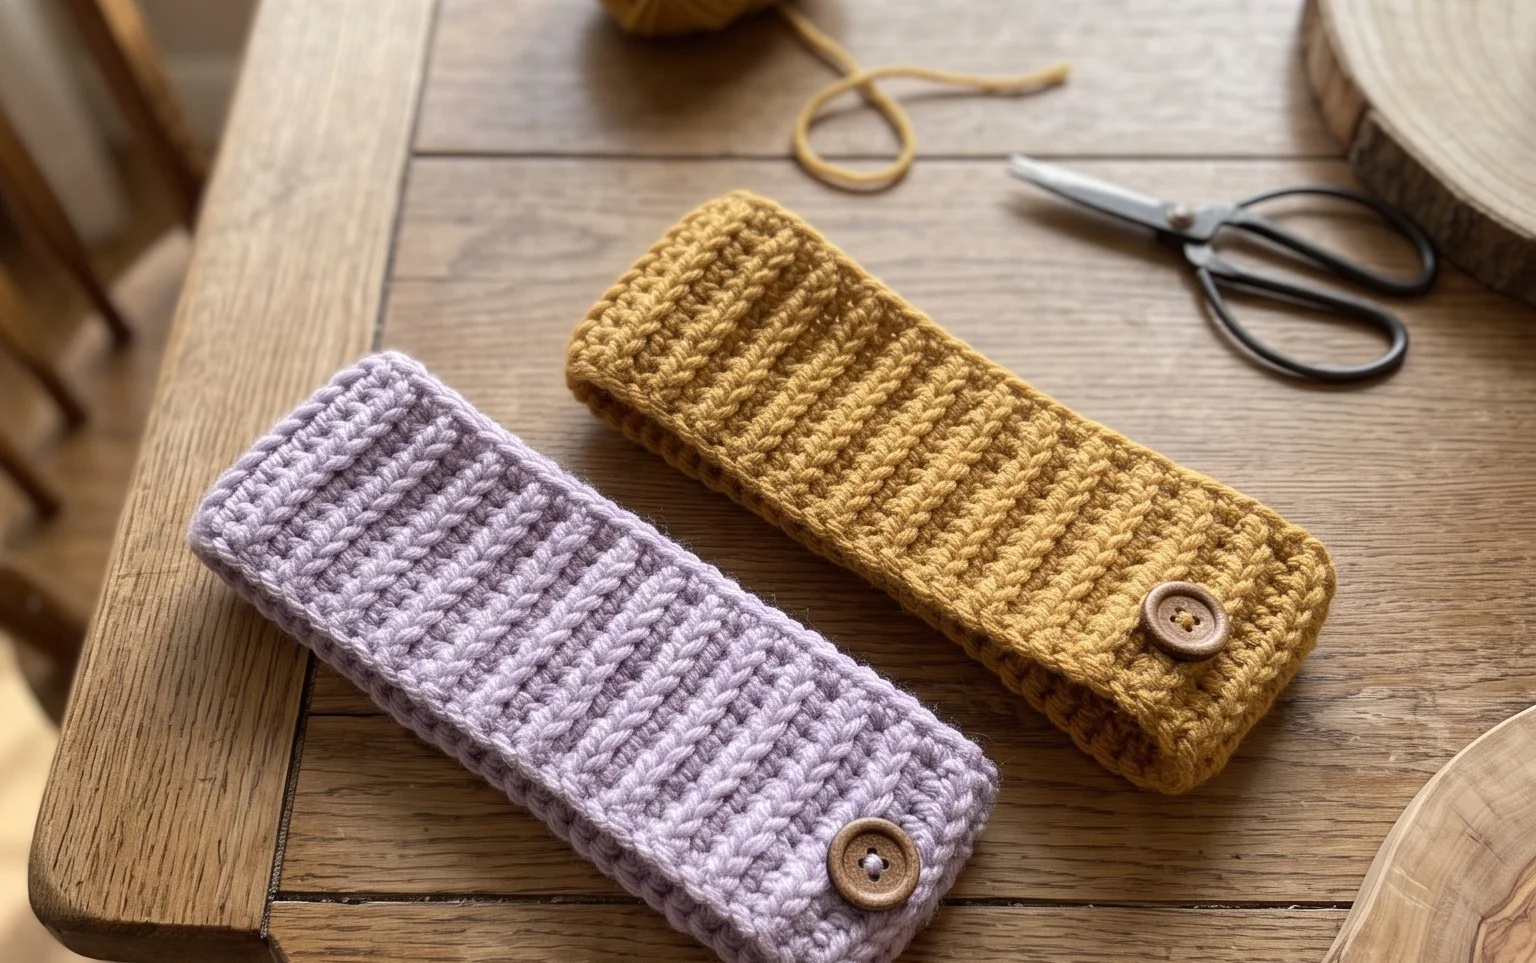
- BLO = back loop only (insert hook under the back loop of the V-shape of the stitch)
- RS = right side
- WS = wrong side
Step-by-Step Pattern Instructions
The hat is worked sideways in one large rectangle. The number of chains determines the height of the hat, while the number of rows determines the circumference.
Hat Body
- Row 1: Ch 41. Starting in the second ch from the hook, work 1 sl st in each ch across. Ch 1, turn. (40 sts)
- Row 2: Working in BLO, sl st in each st across. Ch 1, turn. (40 sts)
- Rows 3-60: Repeat Row 2 until the piece measures 18 inches unstretched. Ensure you end on a WS row. Do not fasten off.
Assembly and Finishing
- Fold the rectangle in half so the first row and the last row are aligned.
- Join the edges by working sl sts through both layers of the BLO stitches to create a seam. Fasten off, leaving a 12-inch yarn tail.
- Thread the tail onto your yarn needle. Weave the needle in and out of every other row end along the top edge of the tube.
- Pull the yarn tail tight to cinch the top of the hat closed. Secure with a knot and weave in the remaining end.
- Turn the hat right side out. If desired, attach a faux fur or yarn pom-pom to the top.
Care & Washing Instructions
- Hand wash your finished hat in cool water with a mild wool-safe detergent.
- Lay the item flat on a clean towel to air dry, reshaping it gently while damp.
- Avoid wringing or twisting the fabric, as this can stretch the ribbed stitches out of shape.
Pro Tips & Common Mistakes to Avoid
Maintain consistent tension throughout the project, as the slip stitch is prone to tightening up; consider going up a half-hook size if your work feels stiff. Always place a stitch marker in the first stitch of each row to help you identify the turning point and prevent accidental decreases. When seaming, use an invisible slip stitch join to ensure the seam remains flexible and blends into the surrounding ribs. You can easily adjust the size by chaining more or fewer stitches for height, or adding more rows for a larger circumference, keeping in mind that each additional row will require approximately 3 yards of extra yarn.
Frequently Asked Questions
Can I substitute the yarn for a cotton blend?
Yes, but note that cotton lacks the natural elasticity of wool or acrylic, so the hat will not have the same snug stretch. You may need to reduce the number of rows slightly to ensure a proper fit.
How do I adjust this pattern for a child’s size?
To make the hat smaller, reduce the initial chain to 30 or 35 stitches and work fewer rows until it fits comfortably around the child’s head.
Is this project suitable for a complete beginner?
This pattern is perfect for beginners because it uses only one basic stitch, the slip stitch. It helps you practice consistent tension and creates a very forgiving final texture.
Am I allowed to sell hats made from this pattern?
You are welcome to sell finished items created from this pattern, provided you credit the design. Please do not redistribute the pattern text or photos as your own work.
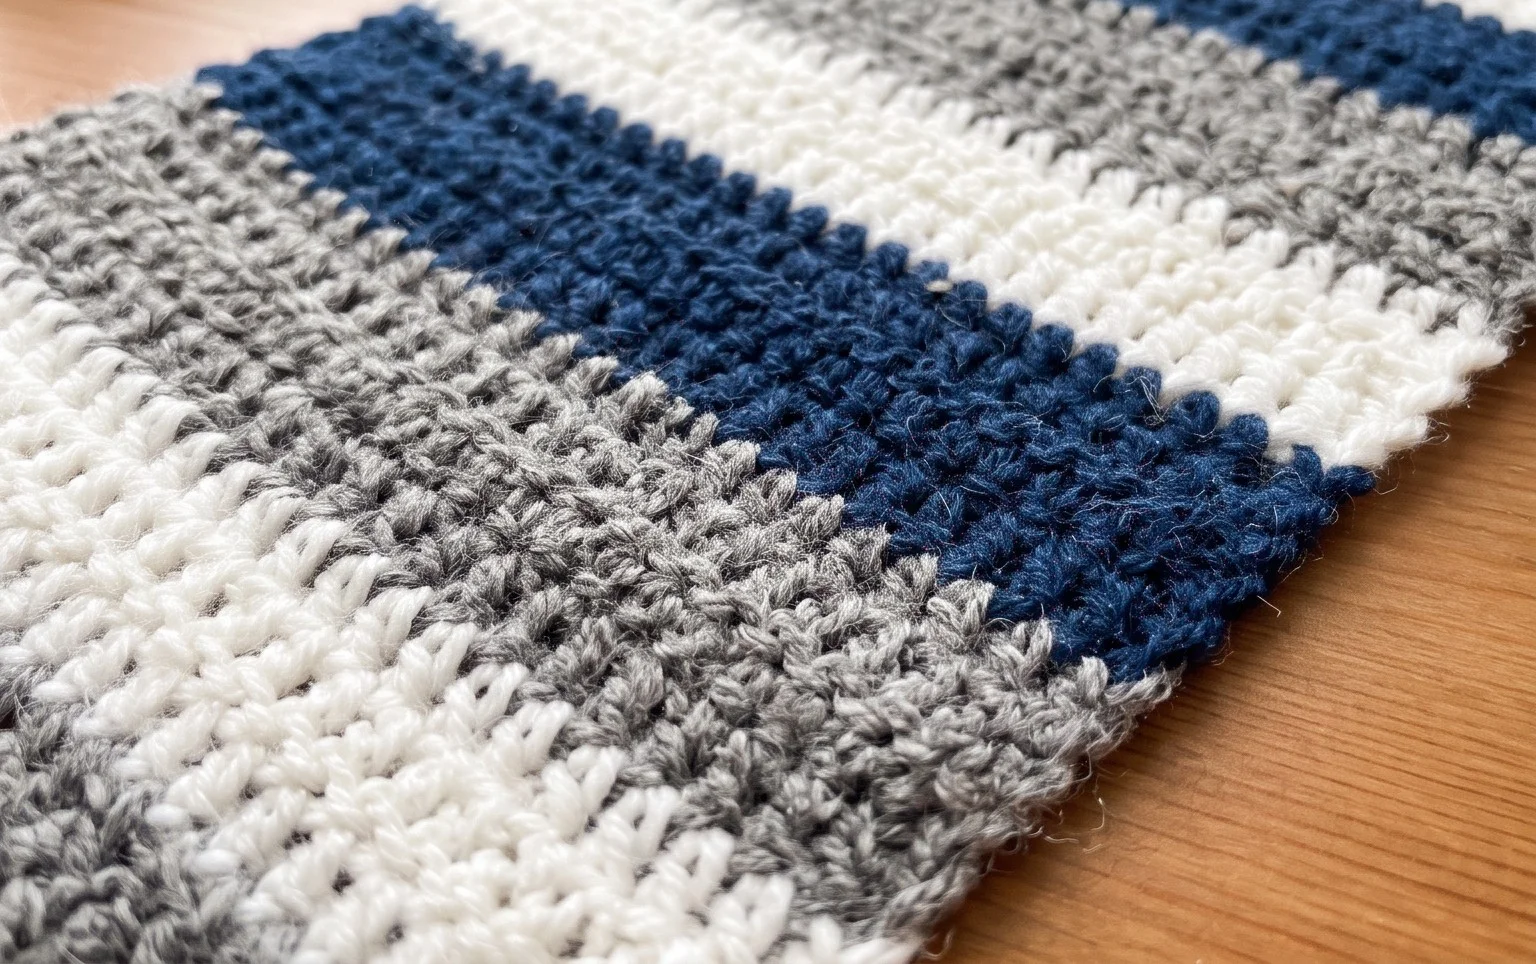
Your new beanie is ready to wear and provides enough warmth to get you through the harshest winter weeks. You can easily modify the look by holding two strands of lace-weight mohair together for a fuzzy halo effect or by alternating your yarn colors every ten rows to create bold stripes. Once you finish your project, share a photo of your work on Instagram so others can see your color choices. Browse through the rest of my blog for more simple project ideas.