Easy Crochet Beanie Free Pattern: Step-by-Step Guide
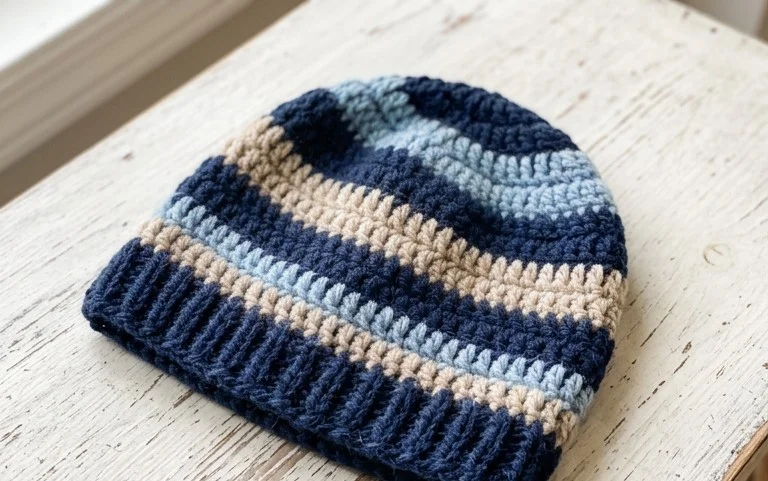
A soft wool beanie feels dense against the skin while providing enough stretch to stay secure during windy morning commutes. This hat shape relies on a simple rectangular panel, which makes the construction process predictable and relaxing for those just starting their crochet hobby. You will find that the rhythm of the half double crochet stitch creates a squishy, uniform fabric that looks clean and intentional. Whether you need a warm accessory for a winter walk or a thoughtful gift for a friend, this project provides a reliable result every time you pick up your hook.
Why This Project Is Worth Making
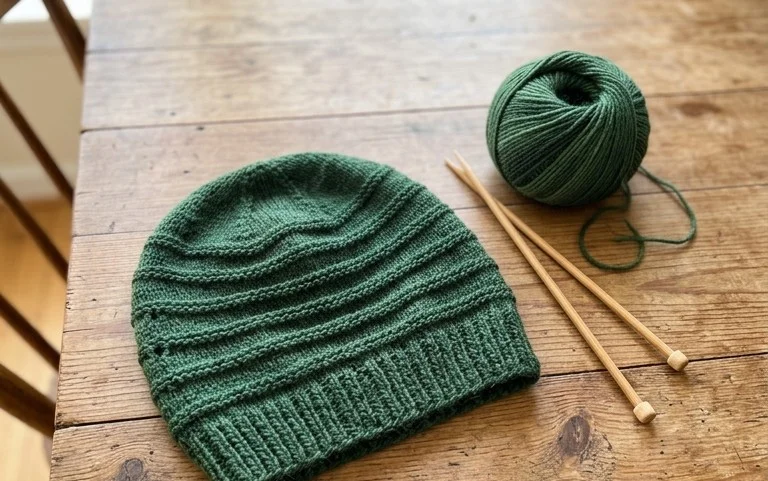
This beginner-friendly project creates a classic crochet beanie using simple stitches that work up quickly even for those new to the craft. The pattern relies on the half double crochet stitch, which provides a dense yet flexible fabric perfect for keeping ears warm during cold weather. Because the construction is a simple rectangle worked in rows and then seamed, it serves as an excellent entry point for learning how to sew pieces together without the complexity of shaping. You can finish this hat in a single weekend, making it an ideal choice for last-minute handmade gifts.
This is the most straightforward hat pattern I have ever followed. The rows are meditative, and the final result is snug and looks professional without any difficult increases or decreases.
— Sarah, weekend crafter
Pattern Overview & Skill Level
- Skill Level: Beginner
- Approximate Time: 3 to 4 hours
- Construction: Flat panel construction worked in rows, folded and seamed
- Finished Dimensions: 20 inches circumference, fits most adult heads
Materials & Supplies Needed
- Yarn: Worsted weight (#4), wool or acrylic blend, approximately 200 yards.
- Hook Size: 5.0 mm (US H-8) crochet hook.
- Notions: Tapestry needle, locking stitch marker, scissors.
- Yarn Substitutions: You can use cotton yarn, but be aware that it lacks the natural stretch of wool and may result in a stiffer hat. If using a heavier weight yarn, your gauge will increase, and you will need to reduce the starting chain length to maintain the fit.
Stitch Guide & Abbreviations (US Terms)
- ch = chain
- hdc = half double crochet
- hdc BLO = half double crochet in the back loop only (insert hook into only the back loop of the stitch from the previous row)
- st/sts = stitch/stitches
- sl st = slip stitch
- YO = yarn over
Step-by-Step Pattern Instructions
Main Hat Panel
- Row 1: Ch 41. Hdc in the second ch from the hook and each ch across. (40 sts)
- Row 2: Ch 1, turn. Hdc BLO in each st across. (40 sts)
- Rows 3-60: Repeat Row 2 until the piece measures approximately 20 inches wide when slightly stretched.
Assembly and Finishing
- Fasten off, leaving a 20-inch tail of yarn for sewing.
- Fold the rectangle in half so that the short ends meet.
- Thread the tapestry needle with the yarn tail and whip stitch the two edges together to form a tube.
- To close the top, weave the yarn tail in and out through the stitches along one of the open circular edges.
- Pull the yarn tail tight to cinch the top of the hat closed.
- Secure the opening with a knot and weave in all remaining ends on the inside of the hat.
Care & Washing Instructions
- Hand wash your finished hat in cool water with a mild wool detergent to maintain the integrity of the fibers.
- Lay the item flat on a clean towel to air dry, avoiding direct heat or sunlight which can shrink or fade the yarn.
- Gently reshape the hat while it is still damp to ensure the ribbing retains its elasticity.
Pro Tips & Common Mistakes to Avoid
Maintain consistent tension throughout the project by keeping your yarn flow steady; irregular tension will cause the finished fabric to look wavy rather than uniform. Always use a stitch marker on the first stitch of each row if you find it difficult to identify your turning points, as this prevents accidental increases or decreases at the ends. Weave in your ends by traveling through the underside of the stitches in two different directions to prevent them from unraveling over time. If you wish to adjust the size, add or subtract chains in the starting row, but keep in mind that each additional chain will require more yarn yardage to complete the full 60 rows.
Frequently Asked Questions
Can I use a different yarn weight for this pattern?
Yes, but you will need to adjust the number of stitches in your foundation chain and the number of rows worked to match the desired dimensions. A lighter yarn will require more stitches, while a thicker yarn will require fewer.
Is this project suitable for a complete beginner?
This pattern is designed specifically for beginners. It uses only the half double crochet stitch and back loop technique, which are foundational skills that are easy to master with practice.
How do I change the size of the hat?
To make the hat larger or smaller, simply add or remove chains from your starting row. To adjust the fit around the head, work more or fewer rows until you reach your target circumference.
Can I sell the hats I make from this pattern?
You are welcome to sell finished items made from this pattern, provided you credit the designer. Always check the specific terms provided by the original pattern source before listing items for commercial sale.
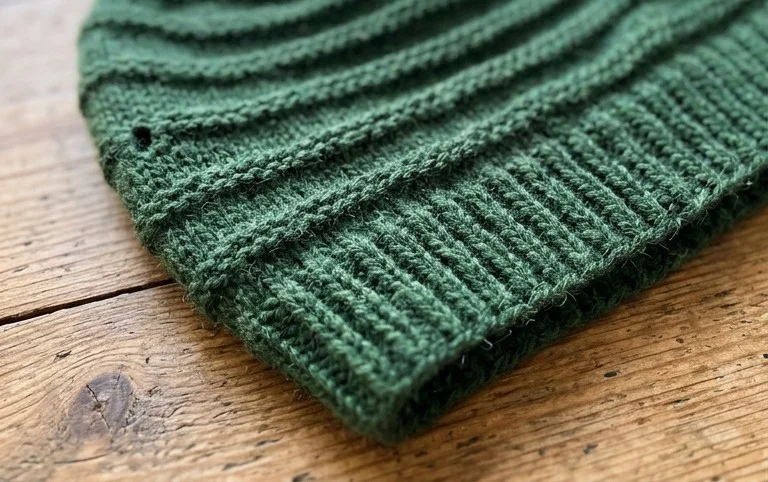
Your finished hat should feel warm and look balanced once you secure the final seam at the crown. You might consider adding a large yarn pom-pom to the top for a classic winter look or using a variegated wool blend if you prefer a subtle color transition. Please share a photo of your work on social media so others can see how the fabric drapes in different shades. You can find more free patterns for simple accessories by browsing the other projects listed on this site.