Easy Christmas Tote Bags: Free Crochet Pattern for Gifts
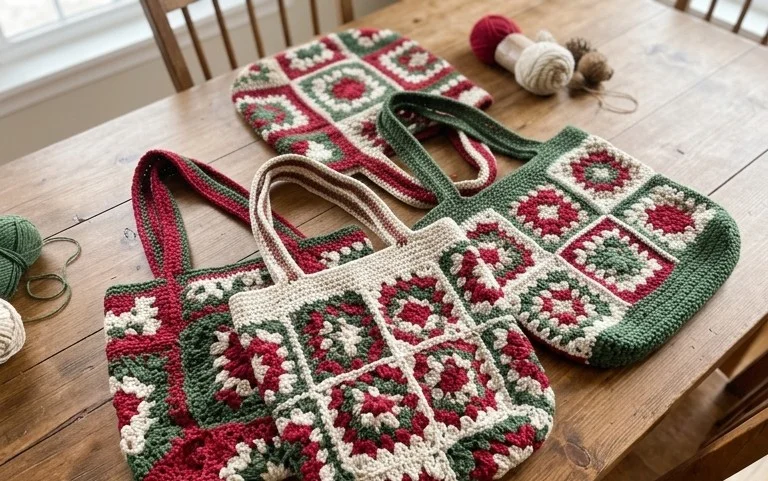
These tiny festive carriers have a firm, structured feel that keeps their shape perfectly whether they sit on a mantle or hang from a branch. You will love how the dense stitches create a polished look that hides your stuffing completely, making them durable enough to hold small candies or ornaments for years. Working in continuous rounds removes the need for visible seams, which keeps the construction smooth and fast. Beginners will find the repetitive motions rhythmic and calming during busy holiday evenings. We will cover the foundation, building up the sides, and finishing with a neat top edge for a professional result.
Why Crocheters Love It
This beginner-friendly project works up in under two hours, making it an ideal choice for last-minute handmade gifts or stocking stuffers. Because the pattern uses continuous rounds, you avoid the hassle of counting turning chains or worrying about visible seams running up the side of your work. The tight gauge required for amigurumi ensures your stuffing stays securely inside without poking through the fabric. Many crocheters find the rhythmic, repetitive nature of these rounds to be a soothing way to spend an evening while watching television or listening to music.
I managed to finish three of these in a single weekend. The instructions are very clear, and the stitch counts are spot on, which made the process stress-free even for someone like me who usually struggles with 3D shaping.
— Sarah, hobbyist crocheter
Pattern Overview & Skill Level
- Skill Level: Beginner
- Approximate Time: 1 to 2 hours
- Construction: Amigurumi-style continuous rounds worked from the bottom up, finished with simple assembly and stuffing
- Finished Dimensions: Approximately 4 inches tall
Materials & Supplies Needed
- Yarn: Worsted weight (#4) cotton or acrylic blend, approximately 30 yards. Cotton is preferred for a professional, defined stitch finish.
- Hook Size: 3.5 mm (E-4) for a tight, dense fabric that prevents stuffing from showing through.
- Notions: Polyester fiberfill for stuffing, a yarn needle with a blunt tip, a stitch marker to track the beginning of rounds, and scissors.
- Yarn Substitutions: You may use DK weight yarn with a 3.0 mm hook for a smaller, more delicate version, or bulky weight yarn with a 5.0 mm hook for a larger, softer toy. Note that changing yarn weight will significantly alter the amount of fiberfill needed.
Stitch Guide & Abbreviations (US Terms)
- MR: Magic Ring (a way to start rounds by crocheting into an adjustable loop)
- ch: Chain
- sc: Single crochet
- inc: Increase (work 2 sc in the same stitch)
- dec: Decrease (sc2tog using the invisible decrease method by working in the front loops only)
- sl st: Slip stitch
- st/sts: Stitch/stitches
Step-by-Step Pattern Instructions
Body
- Rnd 1: Start 6 sc in a magic ring (6 sts).
- Rnd 2: Work 2 sc in each st around (12 sts).
- Rnd 3: 1 sc, inc 6 times (18 sts).
- Rnd 4: 2 sc, inc 6 times (24 sts).
- Rnd 5: 3 sc, inc 6 times (30 sts).
- Rnds 6–12: sc in each st around (30 sts).
- Rnd 13: 3 sc, dec 6 times (24 sts).
- Rnd 14: 2 sc, dec 6 times (18 sts).
- Rnd 15: 1 sc, dec 6 times (12 sts).
At this point, fill the body firmly with fiberfill. Ensure the stuffing is distributed evenly to maintain a round, plump shape.
- Rnd 16: Dec 6 times (6 sts).
Finishing
Cut the yarn leaving a 6-inch tail. Thread the tail onto your yarn needle. Weave the needle through the front loops of the remaining 6 stitches and pull tightly to close the opening. Secure the end by knotting it near the base and pulling the excess yarn through the center of the body, trimming it so the tail disappears into the fiberfill.
Care & Washing Instructions
- Hand wash in cool water using a gentle liquid detergent to maintain the shape and integrity of the fiberfill.
- Roll the item in a clean towel to remove excess moisture and dry completely on a flat surface away from direct heat.
- Reshape the item gently while damp if it becomes slightly compressed during the washing process.
Pro Tips & Common Mistakes to Avoid
Maintain consistent tension throughout the project to ensure the fabric remains tight. If your stitches are too loose, the white fiberfill will show through the gaps between your loops. Always place a stitch marker in the first stitch of every round; since you are working in continuous spirals, it is nearly impossible to keep track of your position without one. When weaving in ends, use the tail to pull the hole closed tightly, then hide the remainder inside the body to prevent any knots from being visible on the exterior. If you choose to resize this pattern by adding extra increase rounds, remember that you will need approximately 25% more yarn for every inch of diameter added.
Frequently Asked Questions
Can I substitute acrylic yarn for cotton?
Yes, acrylic yarn works well for this pattern, though it is slightly softer and may stretch more than cotton. Use the same hook size for a comparable finished size.
Is this project suitable for a complete beginner?
This pattern is designed for those who have mastered the basic single crochet stitch and are ready to learn how to work in the round and perform simple decreases.
How do I make the toy larger?
To increase the size, continue working increase rounds (e.g., 4 sc, inc) until the desired width is reached, then work several rounds even before beginning your decrease rounds.
Am I allowed to sell items made from this pattern?
You may sell items you have handmade using this pattern, provided you credit the design. Always check the specific terms of use provided by the pattern designer if you are selling in large quantities.
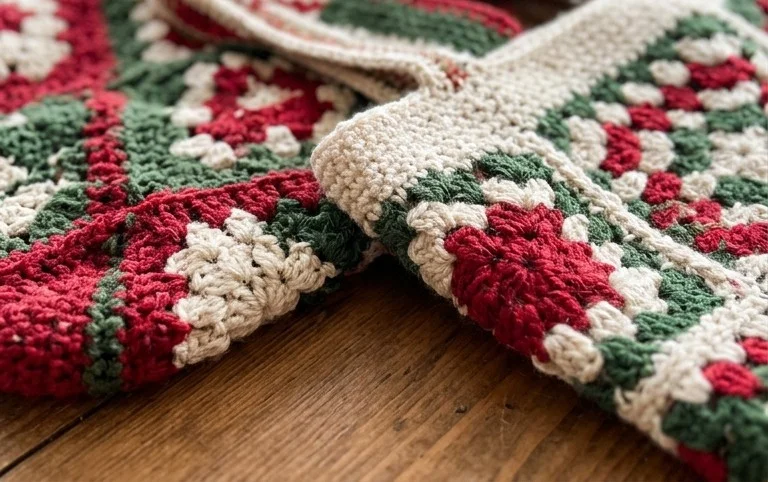
Your finished miniature bags add a touch of handmade warmth to any holiday display. You can experiment with velvet yarn for a softer texture or add a tiny jingle bell to the strap for an extra festive sound. I love seeing the color combinations you choose, so please share a photo of your work on Instagram or Pinterest. If you enjoyed this quick project, you can find more beginner patterns tucked away in my archives. Each one uses simple techniques that help you practice new skills while building a collection of thoughtful gifts.