Classic Granny Square: Free Pattern and Step-by-Step Guide
A soft, woolly square resting on your lap is the quiet comfort that makes crochet so rewarding. These simple blocks feel substantial in your hands, offering a rhythmic texture that helps beginners gain confidence before moving to complex garments. You will love how the corners lock into place, building a shape that holds its own weight and structure without extra reinforcement. This article breaks down the foundational work needed to build your first set of blocks. We cover everything from setting your initial ring to finishing the final cluster with neat, hidden tails that stay secure through many years of use.
Why This Project Is Worth Making
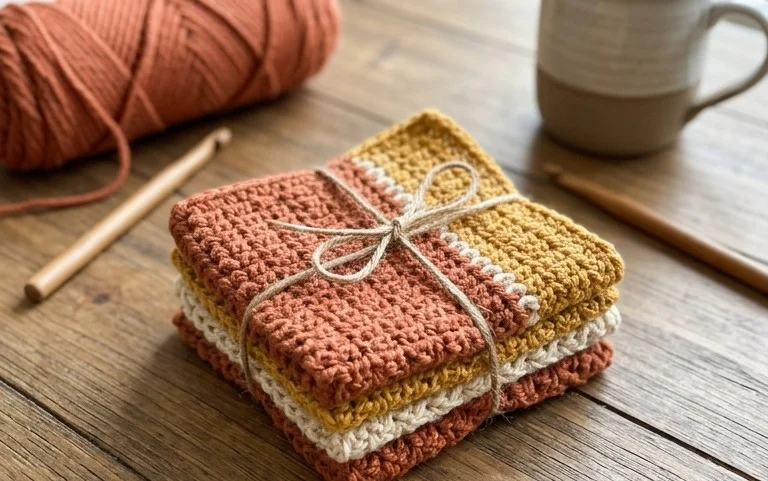
The Classic Crochet Granny Square is the fundamental building block of crochet craft. This pattern is prized for its meditative, repetitive nature, making it the ideal project for practicing consistent tension while catching up on a podcast or watching television. Because it works from the center outward, you can easily stop at any size to create everything from coasters to king-sized blankets. It is also a highly efficient way to utilize leftover yarn scraps, as each round can be completed in a different color to create a bold, stash-busting effect.
I finally mastered corner clusters after struggling for weeks with other tutorials, and now I have a whole stack of squares ready for my first cardigan.
— Sarah, beginner crocheter
Pattern Overview & Skill Level
- Skill Level: Beginner
- Approximate Time: 30 minutes per square
- Construction: Worked in rounds, beginning with a magic ring or a chain-4 loop, growing outward with clusters of double crochet stitches.
- Finished Dimensions: 5 inches by 5 inches (using worsted weight yarn).
Materials & Supplies Needed
- Yarn: Worsted weight (#4), 100% wool or acrylic blend, approximately 20 yards per square.
- Hook Size: 5.0 mm (US H-8).
- Notions: Tapestry needle for weaving in ends, sharp scissors.
- Yarn substitutions: Cotton yarn works well for dishcloths but will result in a firmer, less drapey square. Bulky weight yarn can be used with a 6.0 mm hook for a larger, faster-working square, though you will need to adjust your yardage accordingly.
Stitch Guide & Abbreviations (US Terms)
- ch = chain
- st = stitch
- sl st = slip stitch
- dc = double crochet
- dc-cluster = 3 double crochet stitches worked into the same space
- sp = space
- MR = magic ring
Step-by-Step Pattern Instructions
This square is worked in the round. You will join each round with a slip stitch to the top of the first stitch and chain up to begin the next.
- Rnd 1: Start with a MR. Ch 3 (counts as first dc), work 2 dc into the ring. Ch 2, 3 dc into ring, ch 2 3 times. Join with a sl st to top of beg ch-3. (12 dc, 4 ch-2 spaces)
- Rnd 2: Sl st into the first ch-2 corner sp. Ch 3, work 2 dc, ch 2, 3 dc into the same corner sp. Ch 1, skip 3 dc, (3 dc, ch 2, 3 dc) into the next ch-2 corner sp. Repeat from * to * two more times. Ch 1, join with a sl st to top of beg ch-3. (24 dc, 4 ch-2 corners, 4 ch-1 spaces)
- Rnd 3: Sl st into the first ch-2 corner sp. Ch 3, (2 dc, ch 2, 3 dc) in same corner sp. Ch 1, 3 dc in next ch-1 sp, ch 1, (3 dc, ch 2, 3 dc) in next corner sp. Repeat from * to * two more times. Ch 1, 3 dc in last ch-1 sp, ch 1, join with a sl st to top of beg ch-3. (36 dc, 4 ch-2 corners, 8 ch-1 spaces)
- Rnd 4: Sl st into the first ch-2 corner sp. Ch 3, (2 dc, ch 2, 3 dc) in same corner sp. [Ch 1, 3 dc in next ch-1 sp] across to next corner, ch 1, (3 dc, ch 2, 3 dc) in corner sp. Repeat from * to * three times. Ch 1, join with a sl st to top of beg ch-3. (48 dc, 4 ch-2 corners, 12 ch-1 spaces)
Finishing
Once the final round is reached, fasten off your yarn, leaving a 6-inch tail. Use a tapestry needle to weave the tail back and forth through the back of the clusters to secure the end. For a polished look, lightly steam or wet block your square by pinning it to a flat surface while slightly damp.
Care & Washing Instructions
- Hand wash in cool water using a gentle wool detergent to preserve fiber integrity.
- Lay the square flat on a clean towel to air dry, avoiding direct heat sources.
- If the square curls, pin it to a blocking board while damp and reshape the corners to maintain a perfect square geometry.
Pro Tips & Common Mistakes to Avoid
Maintaining consistent tension is vital for a flat square; if your piece starts to cup or ripple, you may need to adjust your hook size up or down. Always place a removable stitch marker in the first stitch of every round so you can easily identify where to join your slip stitch. When weaving in ends, weave them in opposite directions at least twice to ensure they do not pull out through repeated use or laundering. If you want a larger square, simply continue repeating Rnd 4 until your desired size is reached, noting that each additional round will require roughly 15-20% more yarn than the previous one.
Frequently Asked Questions
Can I use a different yarn weight for this pattern?
Yes, you can use any yarn weight as long as you match it with the appropriate hook size according to the yarn label. Keep in mind that using a thicker yarn will result in a larger, heavier square.
Is this square suitable for a beginner?
Absolutely. This pattern utilizes basic stitches and repetitive sequences, which are excellent for building muscle memory and learning how to read crochet charts and patterns.
How do I join these squares together?
There are several methods, including the whip stitch, single crochet join, or the flat slip stitch join. Select the method that best matches the aesthetic you want for your final project.
Can I sell items made from this pattern?
Yes, you are welcome to sell finished items made from this pattern. I only ask that you credit the original pattern design when sharing your work online or in person.
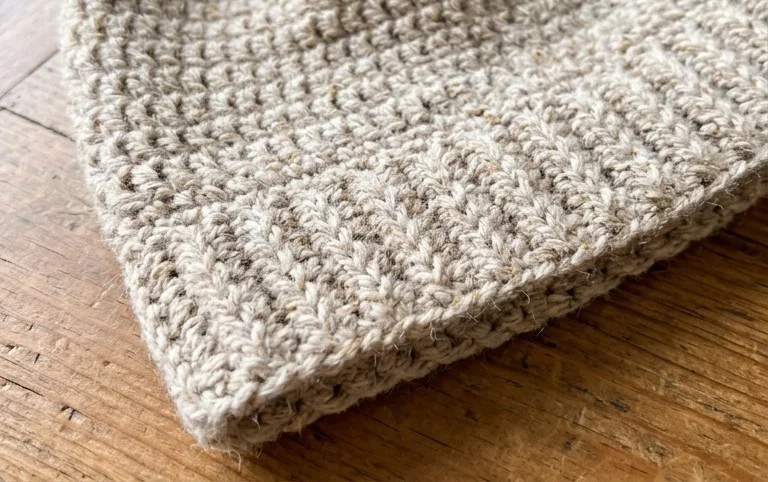
Your new stack of squares is a real accomplishment that will hold up for years as part of a warm blanket or a sturdy carry-all bag. For a lighter version, try working these same steps with a smooth linen blend instead of wool. Once your first block is finished, post a photo of your color choices on social media to show others your progress. Check back here for more free instructions on joining your pieces together and building larger, more complex shapes as your skills grow.