Simple Granny Square Blanket: Free Beginner Pattern
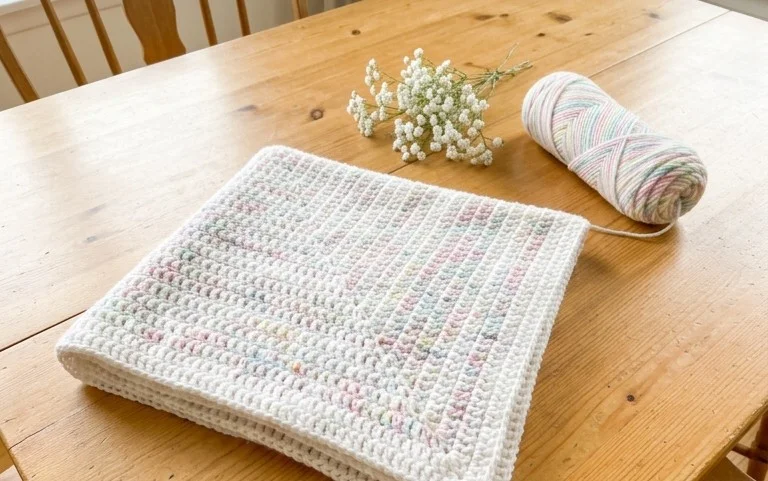
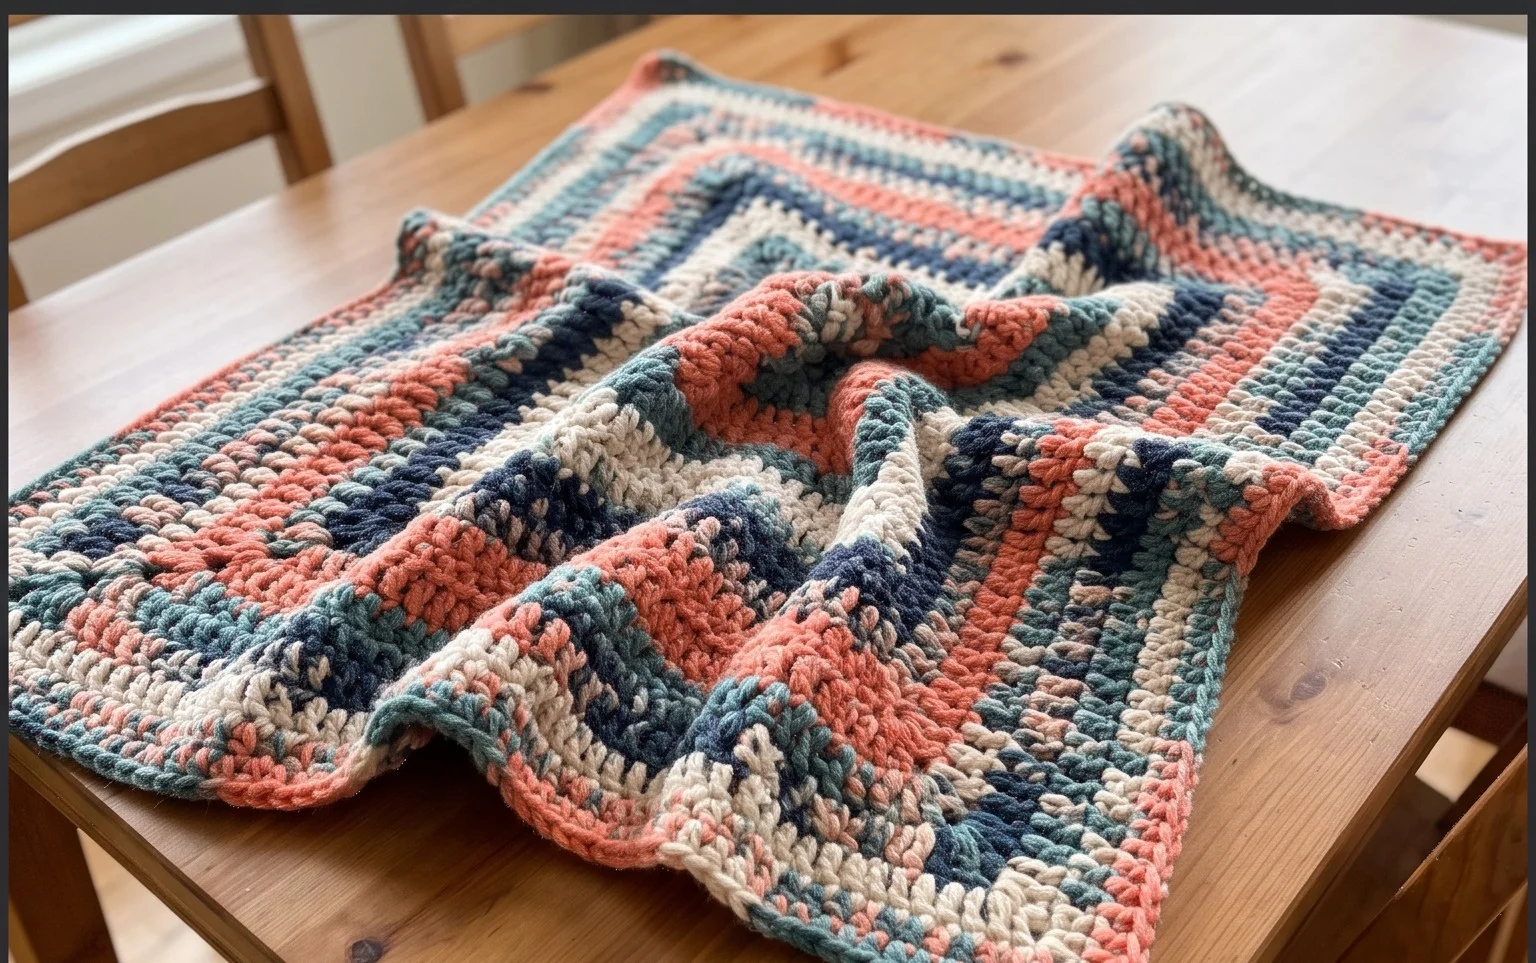
A soft, lightweight blanket draped over the arm of your favorite sofa provides the kind of comfort that only handmade items can offer. This classic square design creates a dense yet flexible fabric that keeps its shape for years, making it a reliable choice for your first major project. You will work from the center out using basic stitches that allow your hands to find a comfortable rhythm quickly. Focusing on chain spaces rather than individual loops helps you maintain consistent tension while you practice holding your hook. This project remains a satisfying way to build confidence with every completed square.
Why You’ll Love This Pattern
The Classic Crochet Granny Square is the quintessential building block for fiber artists. You will find that this pattern is exceptionally meditative due to its repetitive, rhythmic nature, making it the ideal project to work on while listening to music or watching a film. Because each square uses only a small amount of yarn, it is a perfect solution for stash-busting your leftover yarn scraps. Once you master the basic construction, you can join these squares to create blankets, bags, or even garments. Beginners appreciate this pattern because it introduces the concept of working into chain spaces rather than tight stitches, which significantly reduces hand fatigue and makes your progress move quickly.
I started with this square because I was intimidated by complex patterns, but the instructions were so clear that I ended up making an entire blanket in just two weeks.
— Sarah, beginner crocheter
Pattern Overview & Skill Level
- Skill Level: Beginner
- Approximate Time: 30 to 45 minutes per square
- Construction: Working in rounds from the center outward
- Finished Dimensions: Approximately 6 inches by 6 inches using medium weight yarn
Materials & Supplies Needed
- Yarn: Worsted weight (#4), acrylic or cotton blend, approximately 20 yards per square.
- Hook Size: 5.0 mm (US H-8).
- Notions: Tapestry needle for weaving in ends, sharp scissors.
- Yarn substitutions: You may use DK weight yarn for a smaller, more delicate square, though you will need to add extra rounds to reach the same size. Wool blends provide extra warmth but will require gentle hand washing.
Stitch Guide & Abbreviations (US Terms)
- ch = chain
- st/sts = stitch/stitches
- sl st = slip stitch
- dc = double crochet
- sp = space
- Cluster = group of 3 dc stitches worked into the same chain space
Step-by-Step Pattern Instructions
The Foundation
- Foundation: Ch 4, join with a sl st to the first chain to form a ring. Alternatively, use a magic ring if you prefer a tighter center.
- Rnd 1: Ch 3 (counts as first dc), work 2 dc into the ring, ch 2, *3 dc into ring, ch 2; repeat from * twice more. Join with a sl st to the top of the beginning ch-3. (12 dc, 4 ch-2 spaces)
Building the Square
- Rnd 2: Sl st into the next dc and into the corner ch-2 sp. Ch 3, 2 dc in same sp, ch 2, 3 dc in same sp (first corner made). *Ch 1, skip 3 dc, (3 dc, ch 2, 3 dc) in next corner ch-2 sp; repeat from * twice more. Ch 1, join with a sl st to the top of the beginning ch-3. (24 dc, 4 ch-2 spaces, 4 ch-1 spaces)
- Rnd 3: Sl st into the next 2 dc and into the corner ch-2 sp. Ch 3, 2 dc in same sp, ch 2, 3 dc in same sp. *Ch 1, 3 dc in next ch-1 sp, ch 1, (3 dc, ch 2, 3 dc) in next corner ch-2 sp; repeat from * twice more. Ch 1, 3 dc in last ch-1 sp, ch 1, join with a sl st to the top of the beginning ch-3. (36 dc, 4 ch-2 spaces, 8 ch-1 spaces)
Finishing
After completing Round 3, fasten off your yarn, leaving a six-inch tail. Use your tapestry needle to weave the tail through the back of the stitches, ensuring it is secure so the square does not unravel. If you intend to join many squares together, leave a longer tail on the final round to use for stitching the squares to one another.
Care & Washing Instructions
- Machine wash on a delicate cycle using cool water and a mild detergent.
- Lay the square flat on a clean towel to air dry, reshaping it with your hands while damp to ensure perfectly square corners.
- Avoid using high heat in a dryer, as this can melt synthetic fibers or cause excessive shrinking in natural fibers.
Pro Tips & Common Mistakes to Avoid
- Maintain consistent tension throughout the project; if your corners look wavy or bunched, your tension is likely too loose.
- Place a stitch marker in the first chain of your starting ch-3 so you can easily identify where to join your round at the end.
- Weave your ends in as you go; if you wait until you have fifty squares finished, the final assembly will feel overwhelming.
- To adjust the size, simply repeat the pattern for Rnd 3 as many times as desired, adding an extra 3-dc cluster in every side chain space for each additional round.
Frequently Asked Questions
Can I use a different hook size for this pattern?
Yes, you can use a smaller hook for a tighter, denser fabric or a larger hook for a more open, lacy effect. Keep in mind that changing your hook size will change the final dimensions of the square.
Is this pattern suitable for complete beginners?
This is widely considered the best project for beginners. It teaches the fundamental double crochet stitch and introduces the concept of working into chain spaces, which is easier than finding specific loops in tight stitches.
How do I join these squares together?
There are several methods, including the whip stitch, single crochet seam, or the invisible join. A simple whip stitch using a tapestry needle through the back loops of the outer stitches provides a clean and sturdy finish.
Am I allowed to sell items made from this pattern?
You are welcome to sell finished products created with this pattern. Please credit the design and use your own original photographs when listing your items online.
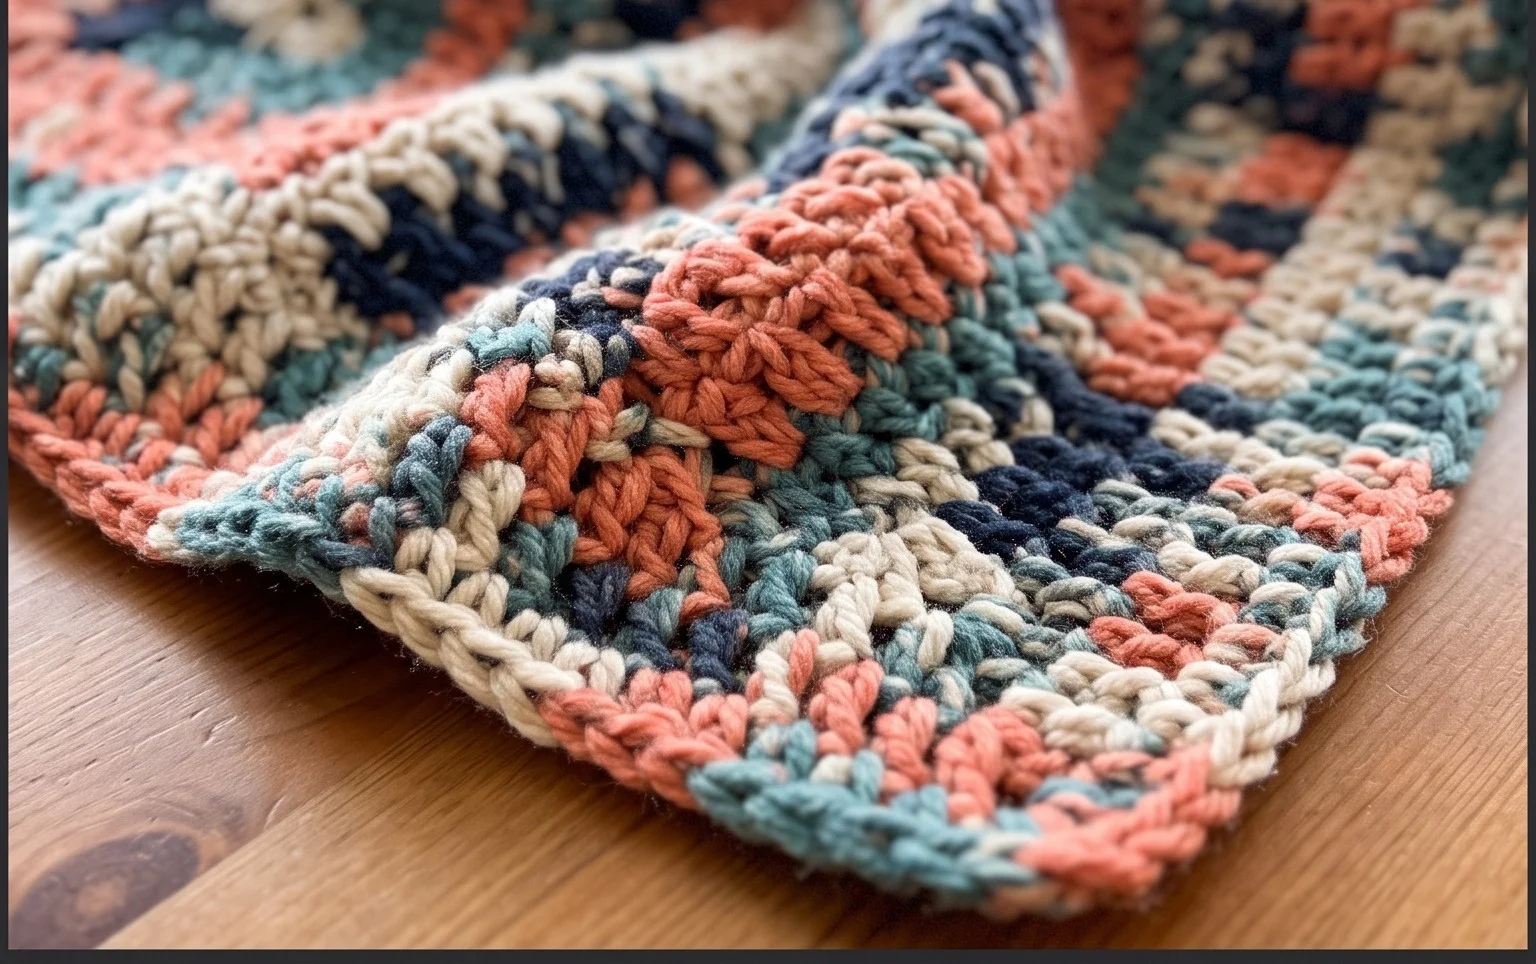
Finishing that final square gives you a sense of accomplishment, especially when you sew them together into a warm, cozy throw that suits any living room. You can change the final look entirely by swapping the solid acrylic yarn for a variegated cotton blend to see how the colors shift across the grid. Posting a picture of your finished work allows you to see how others arranged their squares, so share your progress online. Visit my blog archives for more free patterns that help you build your collection of handmade home items.