Easy Crochet Granny Square Free Pattern for Beginners
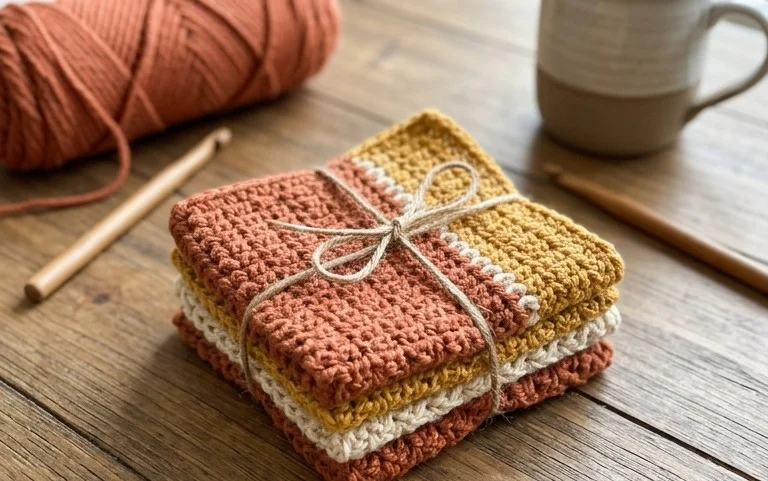
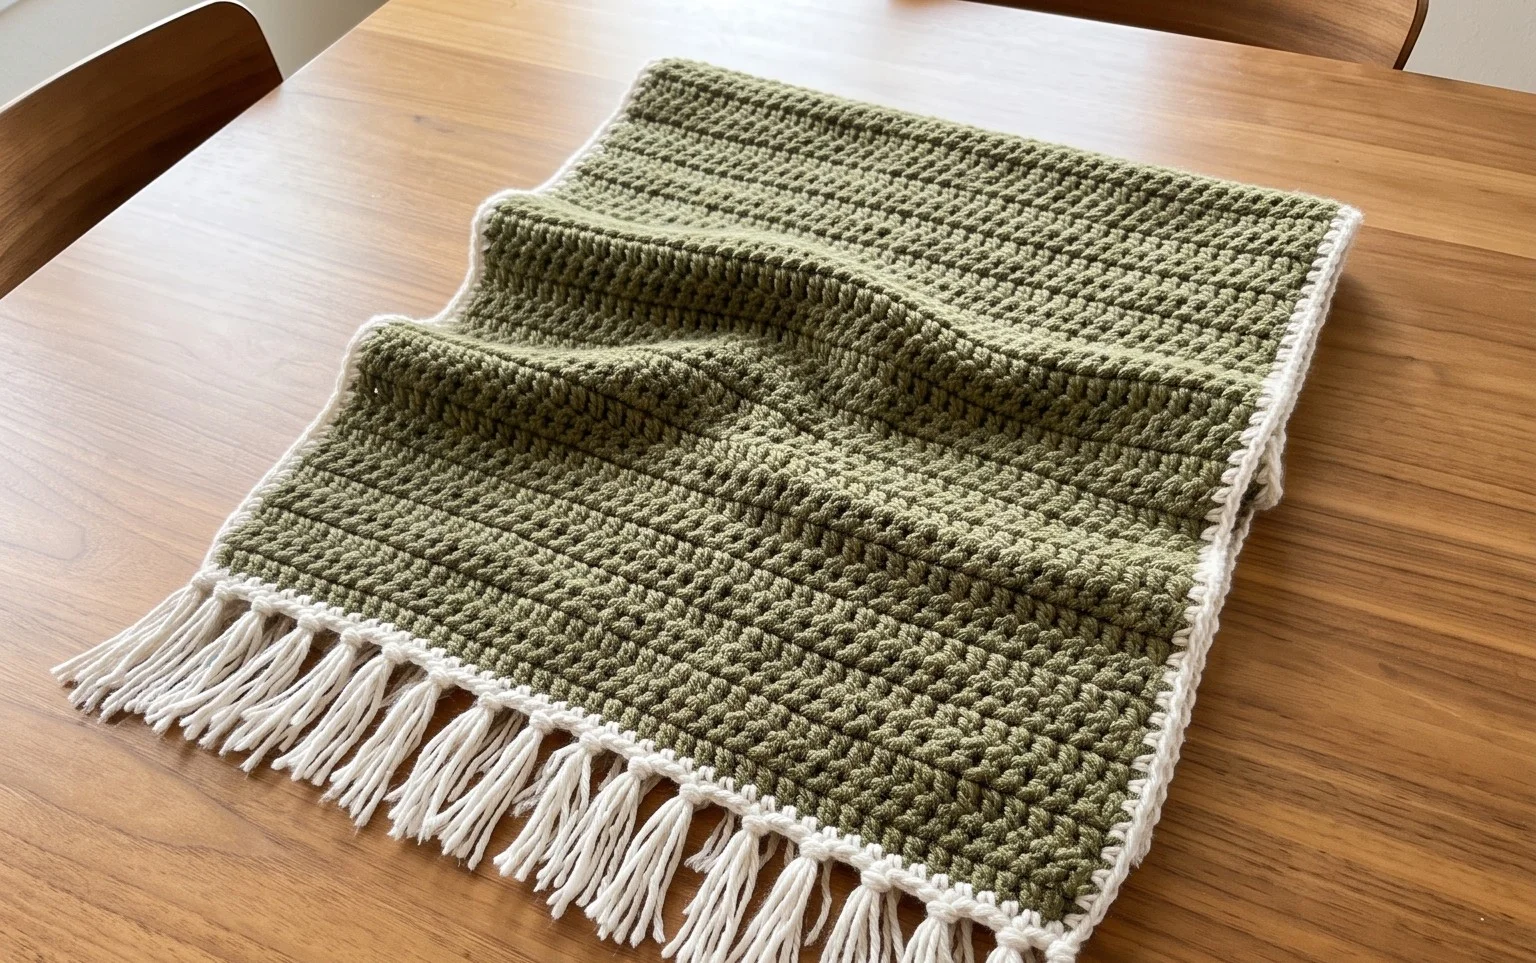
Soft, chunky textures turn a simple living room into a cozy retreat, and this project uses affordable Kmart yarn to get that expensive look without the high price tag. Beginners will find the repetitive motion of this design soothing, while those with more experience can finish several squares during a single quiet afternoon. You will learn the basic cluster stitch and how to create clean, sharp corners that lay flat every time you block them. This project is a productive way to clear out your stash, leaving you with a collection of soft, sturdy squares ready to join into a heavy blanket.
Why You’ll Love This Pattern
The Classic Crochet Granny Square is the fundamental building block for countless textile projects, from cozy patchwork blankets to structured market bags. This pattern relies on a repetitive, meditative sequence that makes it ideal for practicing tension control while sitting in front of the television or traveling. Because each square is a self-contained unit, you can easily work on them in small pockets of time, making it a highly productive way to use up leftover yarn remnants from larger projects. The resulting texture is airy yet durable, providing a professional look that highlights the geometry of the stitch pattern.
I started this project to use up my scrap yarn and ended up making a full throw blanket because the rhythm of the rounds is so addictive.
— Sarah, hobbyist maker
Pattern Overview & Skill Level
- Skill Level: Beginner
- Approximate Time: 30 to 45 minutes per square
- Construction: Worked in joined rounds, starting from the center and expanding outward
- Finished Dimensions & Sizing: Approximately 6 inches by 6 inches when using worsted weight yarn and a 5.0 mm hook
Materials & Supplies Needed
- Yarn: Worsted weight (#4), 100% acrylic or wool blend, approximately 20 yards per square.
- Hook Size: 5.0 mm (H-8).
- Notions: Tapestry needle for weaving in ends, sharp scissors.
- Safe yarn substitutions: You may use DK weight yarn for a smaller, more delicate square, though you will need to increase the number of rounds to achieve the same 6-inch dimension. Cotton yarn will produce a stiffer, more defined square compared to the softer drape of acrylic.
Stitch Guide & Abbreviations (US Terms)
- ch = chain
- sl st = slip stitch
- dc = double crochet
- dc cluster = 3 double crochet stitches worked into the same space
- st/sts = stitch/stitches
- sp = space
- MR = magic ring
Step-by-Step Pattern Instructions
Granny Square Body
- Rnd 1: Start with a MR. Ch 3 (counts as first dc), work 2 dc into the ring, ch 2, *3 dc into ring, ch 2; repeat from * twice more. Join with a sl st to the top of the beginning ch-3. (12 sts, 4 ch-2 spaces)
- Rnd 2: Sl st into the next 2 sts and into the first ch-2 space. Ch 3, 2 dc in same space, ch 2, 3 dc in same space (corner made). *Ch 1, skip 3 sts, (3 dc, ch 2, 3 dc) in next ch-2 space; repeat from * twice more. Ch 1, join with a sl st to the top of the beginning ch-3. (24 sts, 4 ch-2 spaces, 4 ch-1 spaces)
- Rnd 3: Sl st into the next 2 sts and into the first ch-2 space. Ch 3, 2 dc in same space, ch 2, 3 dc in same space. *Ch 1, 3 dc in next ch-1 space, ch 1, (3 dc, ch 2, 3 dc) in next ch-2 space; repeat from * twice more. Ch 1, 3 dc in next ch-1 space, ch 1, join with a sl st to the top of the beginning ch-3. (36 sts, 8 ch-1 spaces, 4 ch-2 spaces)
- Rnd 4: Continue in established pattern, working (3 dc, ch 2, 3 dc) in each corner and 3 dc in each side ch-1 space, separated by ch-1. Join with a sl st to the top of the beginning ch-3. (48 sts, 12 ch-1 spaces, 4 ch-2 spaces)
Finishing
Fasten off your yarn, leaving a 6-inch tail. Use a tapestry needle to weave the tail through the back of the stitches to secure it. If you are joining multiple squares, leave a longer tail if you intend to use the mattress stitch for assembly.
Care & Washing Instructions
- Machine wash on a gentle cycle in cool water (max 30C/86F).
- Lay the square flat on a towel to air dry to maintain its square shape and prevent stretching.
- Steam block lightly if the corners appear to curl, taking care not to press the iron directly onto the synthetic fibers.
Pro Tips & Common Mistakes to Avoid
- Maintain consistent tension: If your dc clusters look too loose, move down one hook size. Consistent tension across all squares ensures they line up perfectly during assembly.
- Track your rounds: Place a stitch marker in the ch-3 of the starting corner to easily identify where each round ends.
- Weaving ends: Always weave your ends into the same color section of the yarn to keep the back of your work looking clean and professional.
- Adjusting size: You can make the square larger by simply repeating the instructions for Rnd 4 until you reach your desired dimensions. Note that each additional round will consume approximately 15% more yarn than the previous round.
Frequently Asked Questions
Can I use a different yarn weight for this pattern?
Yes, you can use any yarn weight. Using a thinner yarn will result in a smaller square, while a thicker yarn will create a larger one. Adjust your hook size according to the recommendation on your yarn label.
Is this pattern suitable for complete beginners?
This pattern is excellent for beginners because it uses only basic chains and double crochet stitches. It teaches the foundational skill of working in the round and navigating corner spaces.
How do I join these squares together?
The most common methods are the whip stitch or the mattress stitch. Both are done using a tapestry needle and a length of matching yarn to sew the edges together through the back loops.
Can I sell the items I make from this pattern?
You are welcome to sell finished items created from this pattern. We simply ask that you credit the pattern design to our brand when listing your products online or at markets.
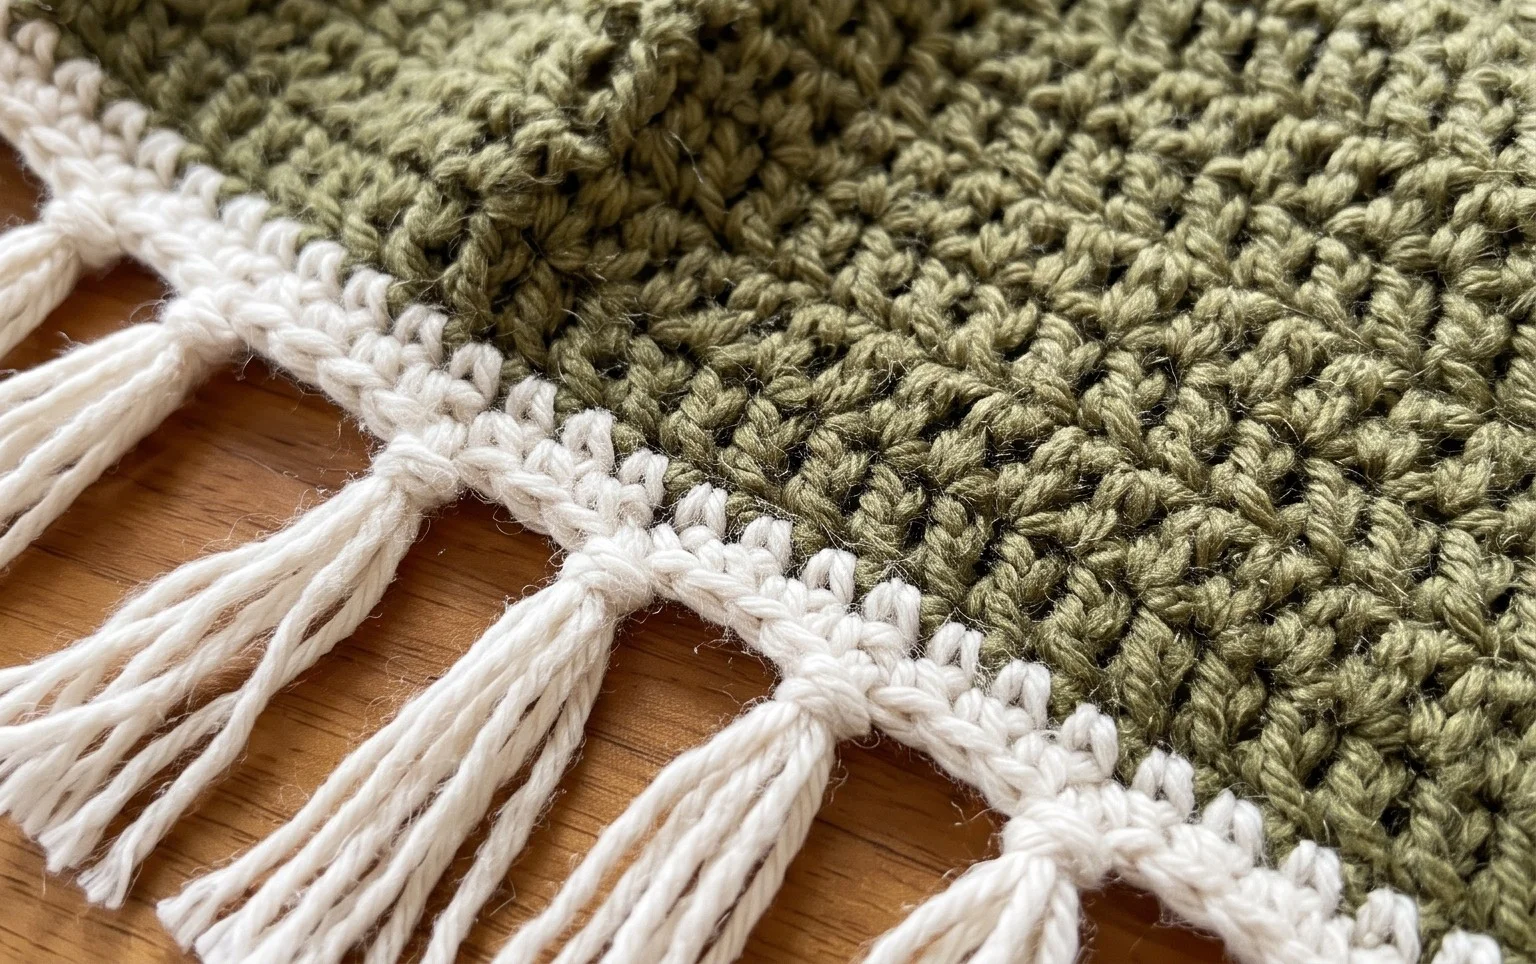
Seeing your stack of finished squares grow into a finished blanket brings a real sense of accomplishment to your craft space. You might try swapping the chunky yarn for a thinner cotton thread if you want to make a lighter, more delicate market bag instead of a heavy throw. Please post a photo of your progress on social media so others can see your color choices. You can find more free patterns and project ideas right here on the blog to fill your weekend afternoons with creative work.