Easy Fingerless Gloves: Free Crochet Pattern for Beginners
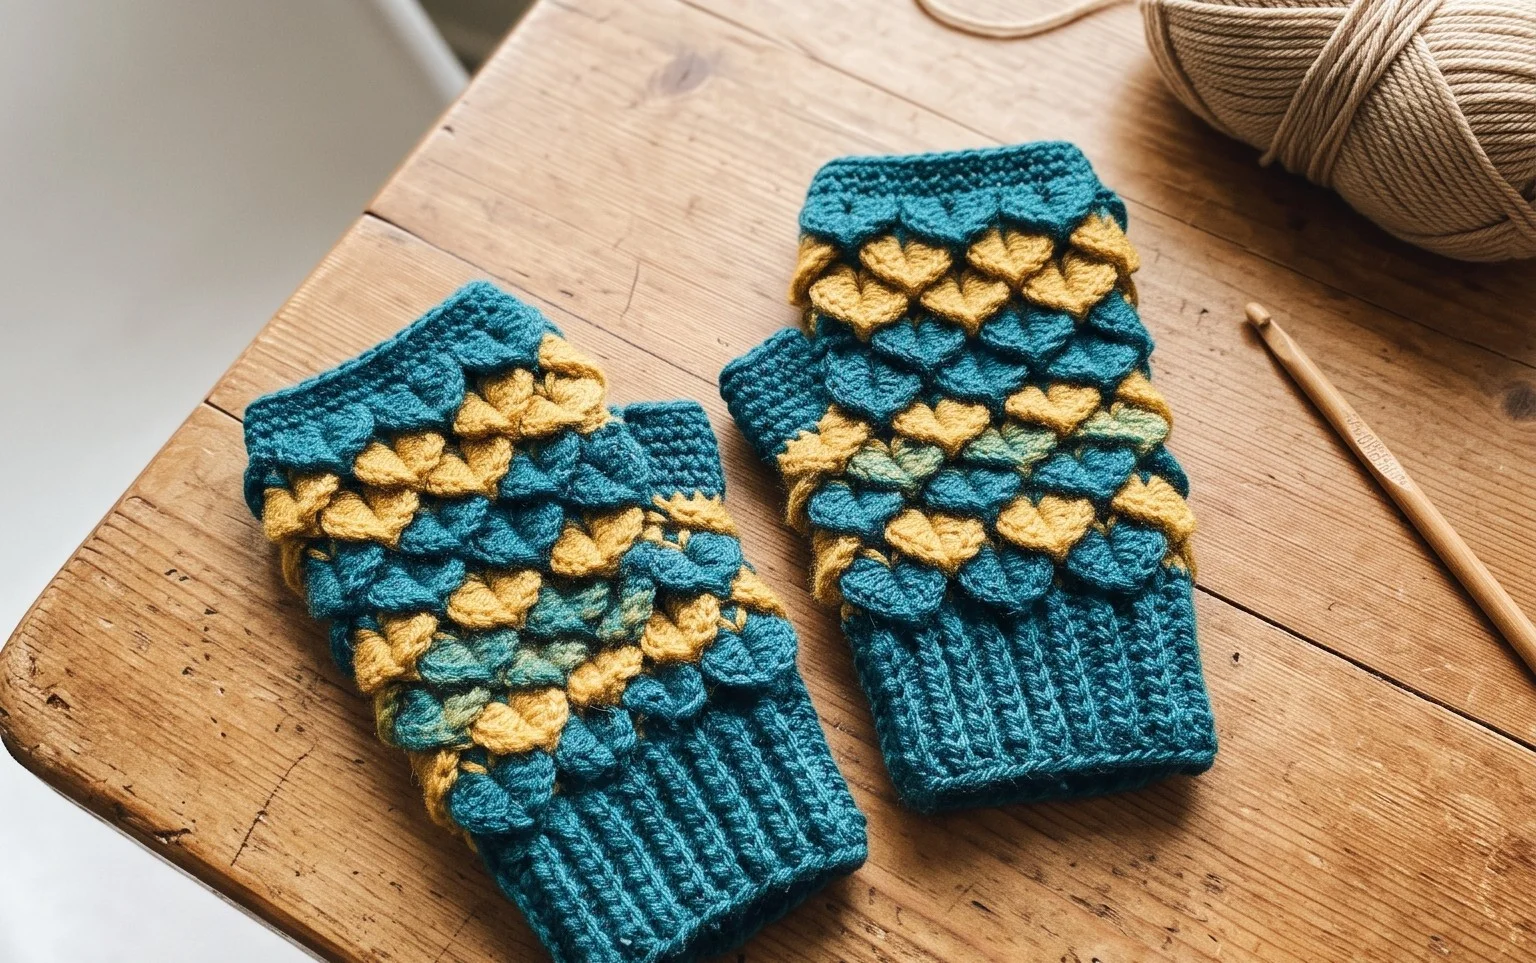
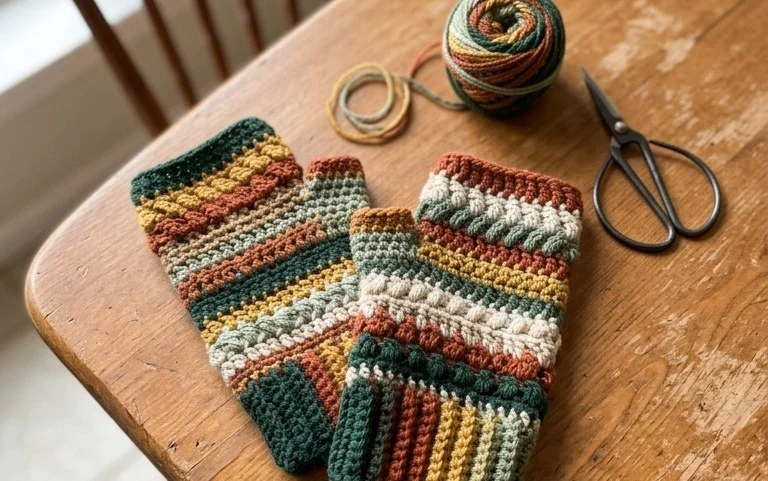
These fingerless gloves are soft, practical, and sit comfortably against the wrist during chilly morning commutes. They feature a simple construction that relies on alternating stitches to produce a fabric with subtle, elegant ridges. You will enjoy how quickly the wool grows under your hook, making this an ideal project for those short weekend hours when you need a small win. Whether you are stitching these as handmade gifts for friends or building your own winter wardrobe, the process is rhythmic and relaxing. We will cover the specific techniques needed to achieve this clean, functional fit without any complicated shaping or difficult maneuvers.
Why You’ll Love This Pattern
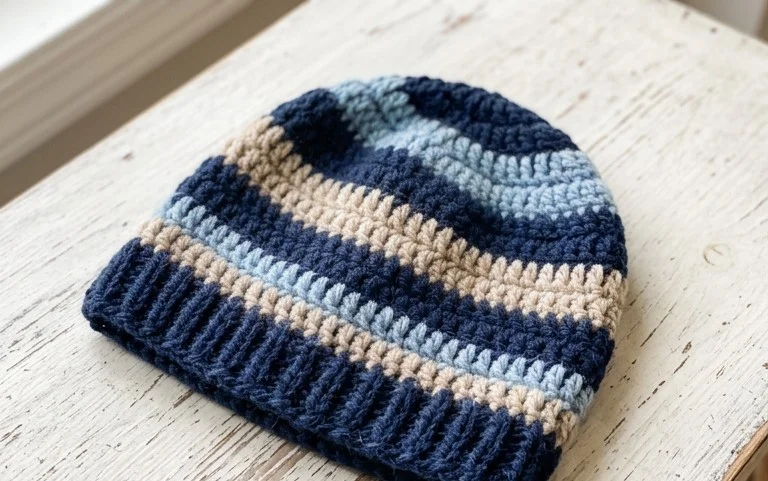
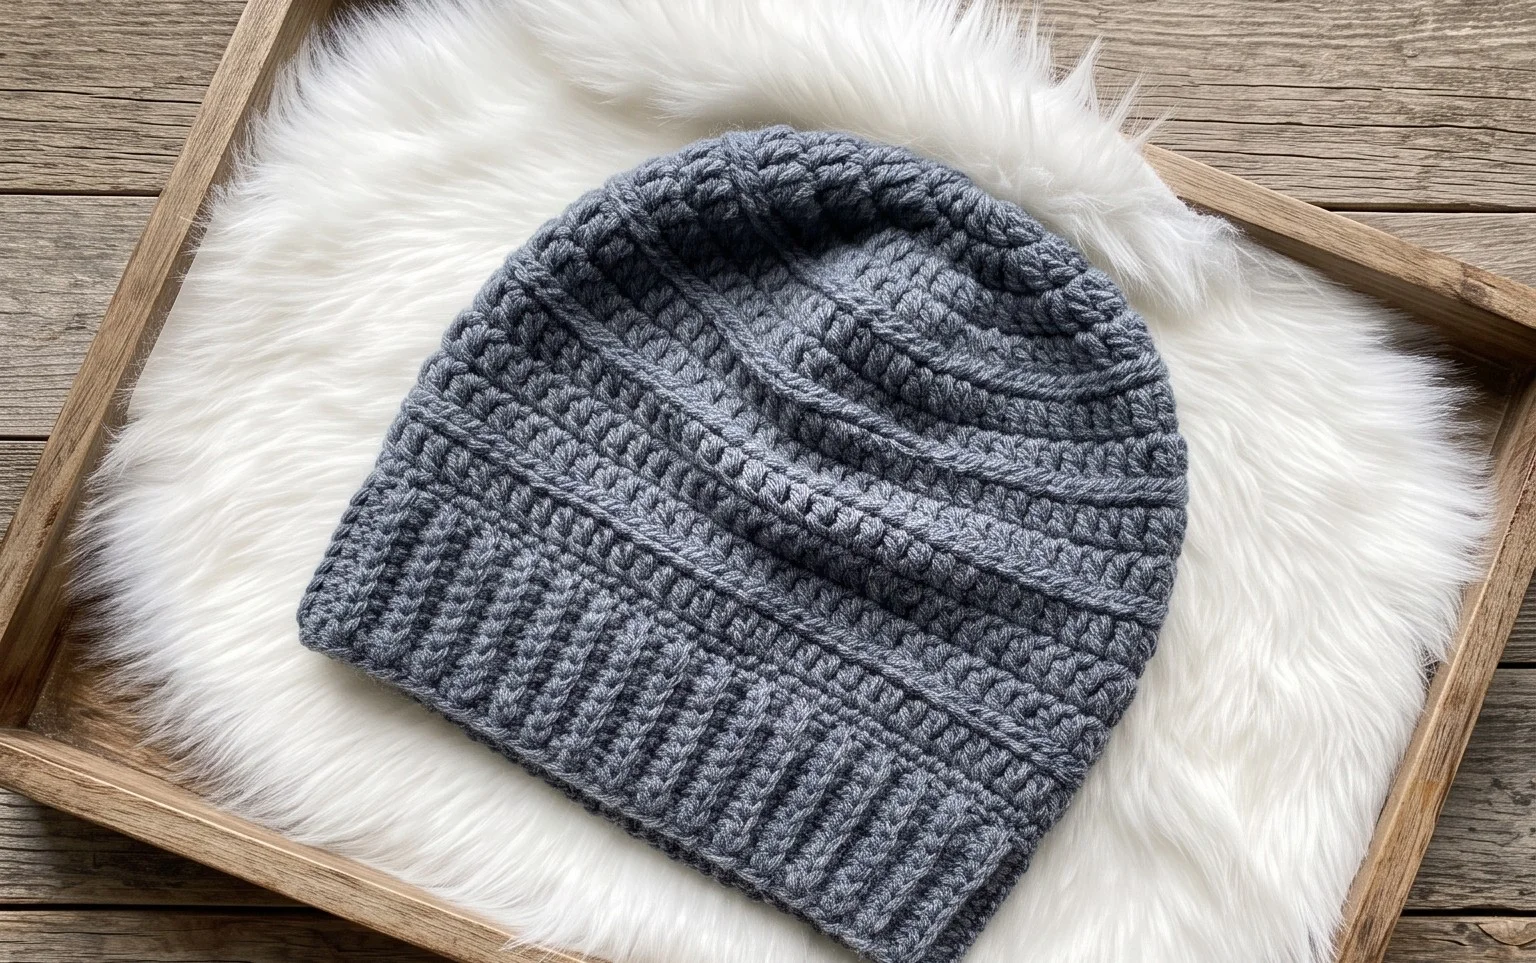
This crochet ribbed beanie pattern uses a simple construction method where you work a flat rectangle back and forth in rows before seaming it into a tube. The texture comes from working into the back loops of single crochet stitches, which creates a stretchy, knitted-look fabric that fits snugly against the head. Because it uses a medium-weight yarn and a simple stitch repeat, it works up quickly in a single afternoon or an evening of television watching. The finished fabric is dense enough to trap heat during winter, yet lightweight enough for cool autumn transition days.
I was able to whip up three of these hats for holiday gifts over the weekend. The ribbed texture looks professional and the fit is incredibly comfortable for everyday wear.
— Sarah, hobbyist crafter
Pattern Overview & Skill Level
- Skill Level: Beginner
- Approximate Time: 3 to 4 hours
- Construction: Flat panel joined by a seam
- Finished Dimensions: 8.5 inches wide by 10 inches tall (fits average adult head)
Materials & Supplies Needed
- Yarn: Worsted weight (#4) wool or acrylic blend, approximately 200 yards.
- Hook Size: 5.0 mm / H-8 crochet hook.
- Notions: Tapestry needle for seaming and weaving in ends, locking stitch marker for rows.
- Safe yarn substitutions: You may use a cotton blend for a summer beanie, though note that cotton has less stretch than wool; you may need to add five extra chains to the foundation row to ensure a comfortable fit.
Stitch Guide & Abbreviations (US Terms)
- ch = chain
- st/sts = stitch/stitches
- sc = single crochet
- BLO = back loop only (insert hook only through the rear loop of the stitch instead of both loops to create ridges)
- sl st = slip stitch
Step-by-Step Pattern Instructions
Hat Body
- Row 1: Ch 41. Sc in the second ch from the hook and in every ch across. (40 sts)
- Row 2: Ch 1, turn. Sc in BLO of each st across. (40 sts)
- Rows 3–60: Repeat Row 2 until the piece measures approximately 17 inches when unstretched.
Finishing and Assembly
Once you reach the desired length, fasten off your yarn, leaving a long 12-inch tail. Fold the rectangle in half so the two short ends meet. Use your tapestry needle to whip stitch the two short edges together to form a tube. Turn the tube inside out so the seam is on the interior. Take your remaining yarn tail and weave it through the stitches at the top edge of the tube. Pull the tail tight to cinch the top of the hat closed, then secure the yarn with a knot and weave in the ends.
Care & Washing Instructions
- Hand wash in cool water with a gentle wool-safe detergent to maintain the elasticity of the fibers.
- Lay the hat flat on a clean towel to air dry, taking care to reshape it while damp.
- Avoid wringing or twisting the hat, as this can permanently stretch the stitches and distort the ribbing.
Pro Tips & Common Mistakes to Avoid
Consistent tension is the most important factor for this pattern. Since you are working into the back loops, it is common for beginners to inadvertently tighten their grip, which makes the hat too small. If you find your foundation row is pulling, use a hook size 0.5 mm larger for just the first row. Always place a stitch marker in the final stitch of every row to ensure you are not losing or gaining stitches, as maintaining the count of 40 stitches is essential for a clean seam. If you want a larger or smaller hat, simply adjust the number of starting chains to change the height, or increase the number of rows to change the circumference.
Frequently Asked Questions
Can I use a chunky yarn instead of worsted?
Yes, but you will need to adjust your stitch count. A heavier yarn requires fewer starting chains and a larger hook size, typically 6.0 mm or 8.0 mm, to achieve the same drape.
Is this pattern suitable for complete beginners?
Yes, this is an ideal first project. It focuses on the fundamental single crochet stitch and teaches basic finishing techniques like seaming and cinching.
How do I prevent the seam from being too bulky?
Use a whip stitch with a thin sewing needle and matching thread instead of yarn, or join the edges by working slip stitches through both layers once you have finished the final row.
Am I allowed to sell hats made from this pattern?
You are welcome to sell finished items created from this pattern. I only ask that you credit the original design when listing your products online.
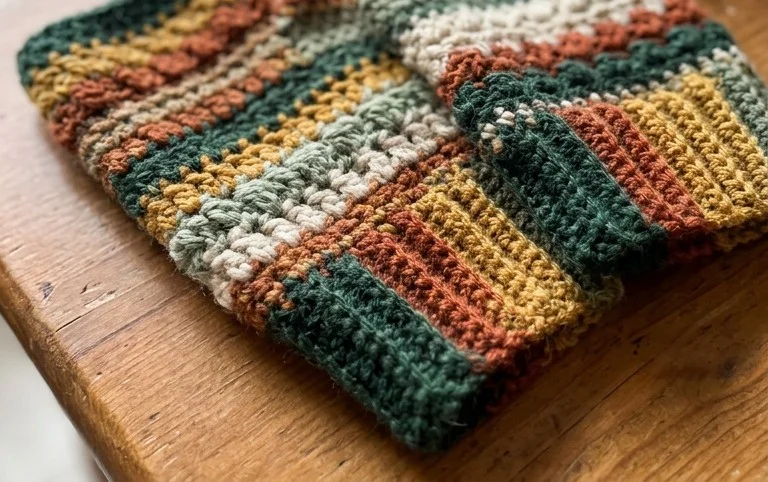
Wearing your new handmade gloves feels wonderful once you pull them on for the first time. You might consider using a variegated yarn for your next pair to highlight the structural lines, or perhaps adding a small wooden button to the cuff for a rustic finish. Post a picture of your finished work on social media so others can see your color choices. Browse through the rest of the site for more winter accessories that follow the same straightforward style and help build your crafting confidence.