Easy DIY Gift Card Stockings: Free Beginner Crochet Pattern
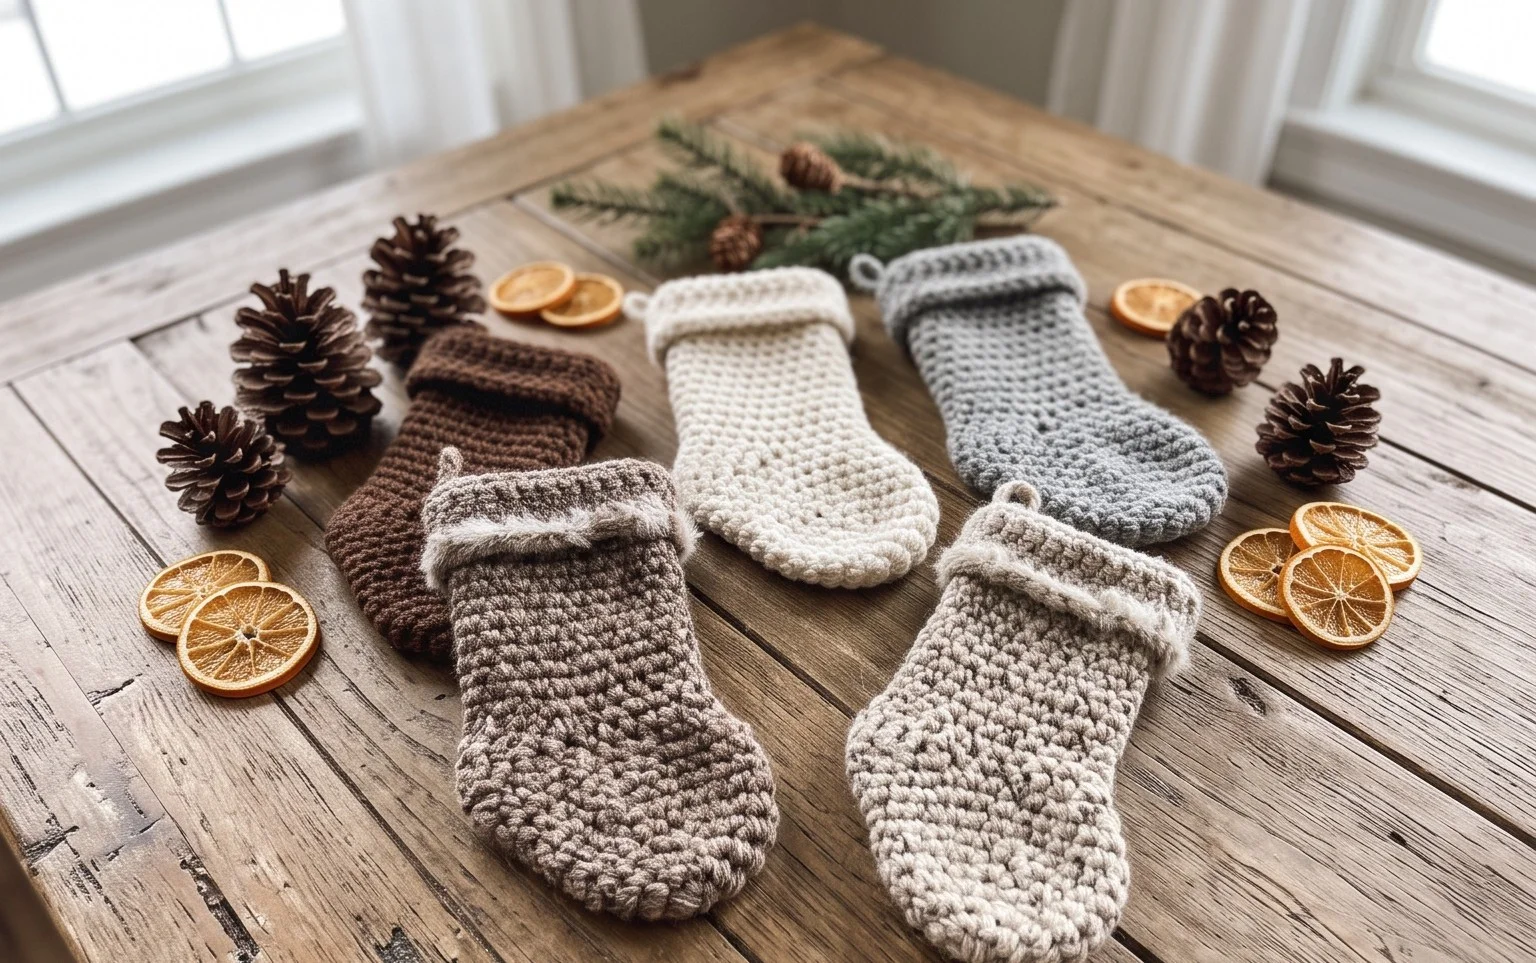
These miniature stockings have a dense, satisfying weight that sits comfortably in your palm, feeling much more substantial than a paper envelope. The small size makes them a quick project for using up leftover cotton yarn, while the sturdy walls ensure they keep their shape even when holding a plastic card or a small treat. You will find that working in a continuous spiral removes the frustration of visible seams, leaving you with a clean and professional finish every time. This project relies on the single crochet stitch to create a tight, uniform fabric, which provides an excellent opportunity for you to practice maintaining consistent tension throughout your work. Whether you are prepping holiday favors or creating unique personal gift wraps, this pattern offers a reliable way to add a handmade touch to your holiday season.
Why This Project Is Worth Making
This beginner-friendly project is a classic for a reason: it works up in under two hours using only a small amount of leftover yarn from your stash. Because it uses a simple spiral construction, you do not have to worry about joining rounds or dealing with unsightly seams. The final item is highly durable and holds its shape well, making it a reliable gift for children or a decorative addition to your home. It provides a meditative, repetitive rhythm that is easy to pick up and put down, which makes it ideal for working on while traveling or watching television.
I finished this project in a single afternoon and the instructions were clear enough that I did not have to restart once. It is a fantastic pattern for practicing consistent tension.
— Sarah, hobbyist crocheter
Pattern Overview & Skill Level
- Skill Level: Beginner
- Approximate Time: 1.5 to 2 hours
- Construction: Worked in continuous rounds using the amigurumi method
- Finished Dimensions: 4 inches tall by 3 inches wide
Materials & Supplies Needed
- Yarn: Worsted weight (#4) cotton or acrylic blend, approximately 30 yards. Cotton provides better stitch definition for beginners.
- Hook Size: 4.0 mm (US G-6).
- Notions: Tapestry needle for weaving in ends, a locking stitch marker to track the start of rounds, and a small amount of polyester fiberfill stuffing.
- Yarn Substitutions: You may use DK weight yarn with a 3.5 mm hook for a smaller, more delicate result, or bulky weight yarn with a 5.5 mm hook for a larger, squishier texture. Note that changing weight will require more or less yardage accordingly.
Stitch Guide & Abbreviations (US Terms)
- MR: Magic Ring.
- ch: Chain.
- sc: Single crochet.
- inc: Increase (work 2 sc into the same stitch).
- dec: Invisible decrease (insert hook into front loops of the next 2 stitches, yarn over, pull through 2 loops, yarn over, pull through remaining loops).
- sl st: Slip stitch.
- st/sts: Stitch/stitches.
Step-by-Step Pattern Instructions
Body Base
- Rnd 1: Work 6 sc into a MR (6 sts).
- Rnd 2: 2 sc in each st around (12 sts).
- Rnd 3: (1 sc in next st, inc in next st) repeat 6 times (18 sts).
- Rnd 4: (1 sc in next 2 sts, inc in next st) repeat 6 times (24 sts).
- Rnds 5-10: sc in each st around (24 sts).
- Rnd 11: (1 sc in next 2 sts, dec) repeat 6 times (18 sts).
- Rnd 12: (1 sc in next st, dec) repeat 6 times (12 sts).
Closing and Finishing
At this point, fill the piece firmly with fiberfill stuffing. Ensure the bottom is rounded and the sides are supported by the filling.
- Rnd 13: (dec) repeat 6 times (6 sts).
- Fasten off, leaving a 6-inch tail.
- Use the tapestry needle to weave the yarn tail through the front loops of the remaining 6 stitches. Pull tight to close the opening and knot securely.
- Weave the end back into the center of the piece to hide the tail.
Care & Washing Instructions
- Machine wash in a mesh laundry bag on a gentle cycle using cold water to prevent color bleeding or fiber shrinkage.
- Reshape the item while damp and lay it flat on a clean towel away from direct sunlight to air dry completely.
- Do not iron or bleach, as extreme heat can melt synthetic fibers or compromise the structure of the stuffing.
Pro Tips & Common Mistakes to Avoid
- Maintain consistent tension by holding your yarn with a steady grip; if the holes between stitches look too large, drop down one hook size.
- Always place a stitch marker in the first stitch of every round to keep track of your count, as it is easy to lose your place in a continuous spiral.
- Weave your ends into the inside of the project rather than trimming them close to the knot to ensure they do not work their way out over time.
- Adjust the size by adding or subtracting rounds 5 through 10; keep in mind that adding height will increase the amount of yarn and stuffing required for the project.
Frequently Asked Questions
Can I use a different weight of yarn for this project?
Yes, you can substitute yarn weights, but be aware that using a lighter yarn will result in a smaller finished item, while a heavier yarn will result in a larger one. You may need to adjust your hook size to ensure the fabric is tight enough that the stuffing does not show through.
Is this pattern suitable for someone who has never crocheted before?
This pattern is excellent for beginners because it focuses on the most fundamental skill in amigurumi: the single crochet stitch. The repetition helps build muscle memory quickly.
Can I sell the items I make using this pattern?
You are welcome to sell finished items made from this pattern, provided you credit the designer and use your own original photographs for your listings. Please do not redistribute or sell the written pattern itself.
How do I know if I have stuffed the piece enough?
The piece should feel firm and hold its shape when squeezed. If it feels squishy or loses its form, add a bit more fiberfill until the fabric is taut but not over-stretched to the point where the stitches pull apart.
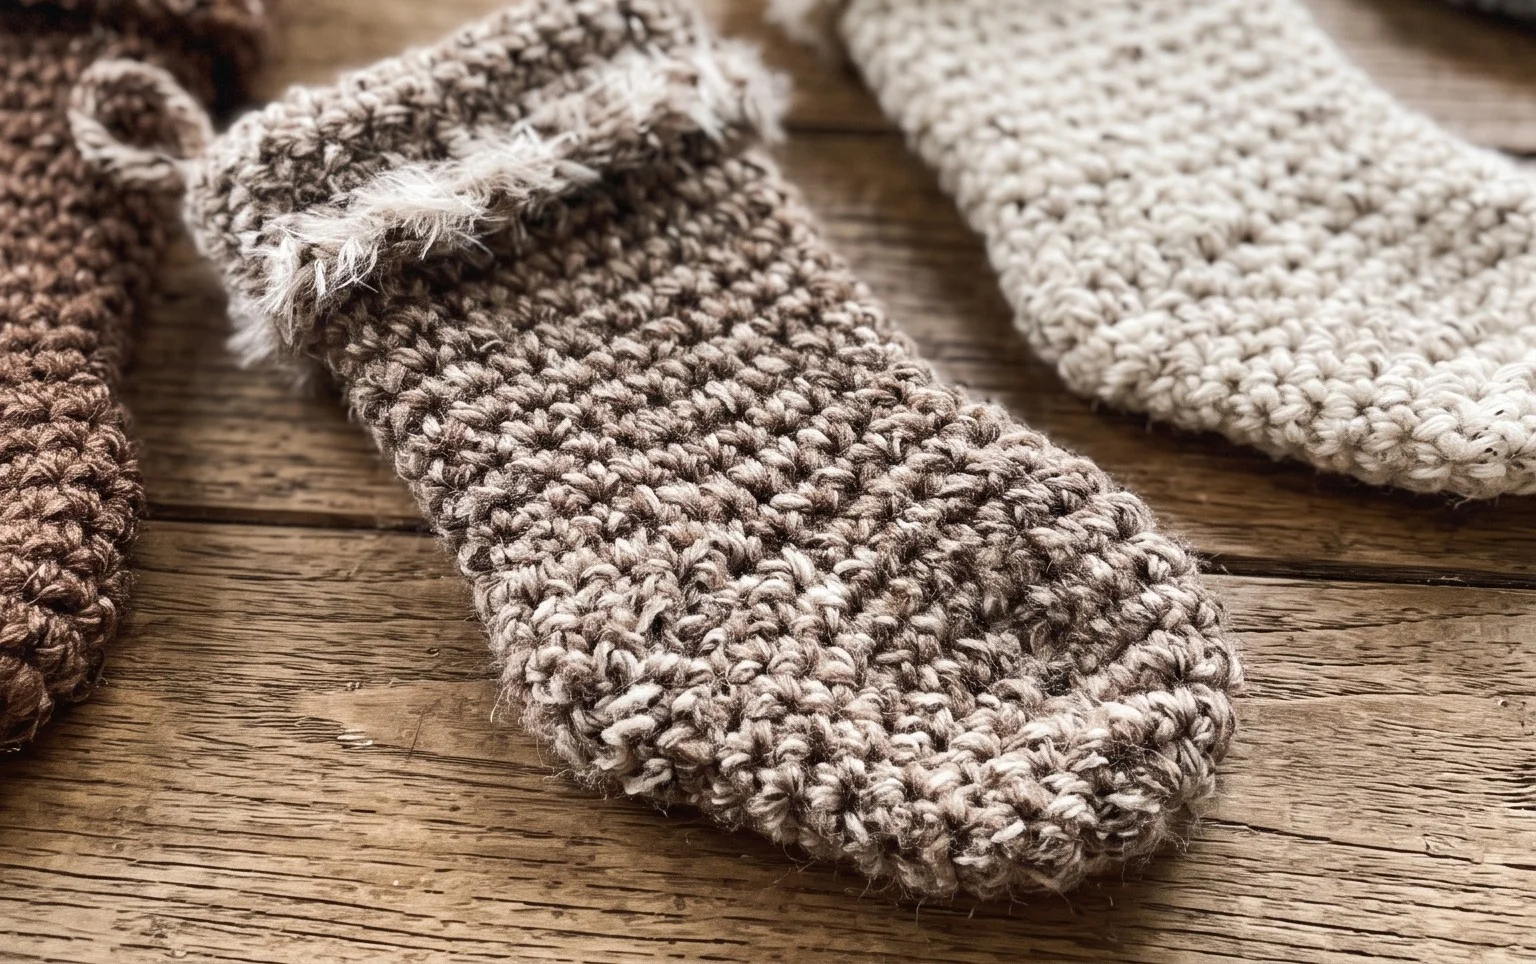
Holding your finished stocking, you can see how the simple stitches come together into a charming, functional holder for your next holiday gift. You might try alternating colors every two rounds to create a festive striped effect or adding a small loop of twine for hanging. Post a picture of your creation on social media to show how your color choices turned out. If you enjoyed this project, take a moment to look through the other free patterns available on the blog for your next afternoon session.